Jump to Ingredients – Jump to Method – Jump to Printable Version
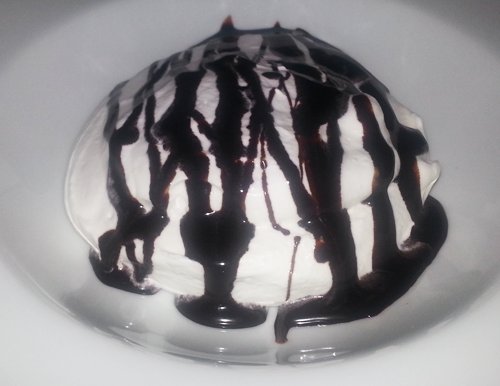 If you are anything like me, you love chocolate. For chocolate lovers, one of the best staples to have is chocolate syrup! You can put it in or on just about anything to whip up a chocolatey treat. If you are anything like me, you also like to use as little mass produced, prepared foods as is sanely possible, and therefor, the idea of a store bought bottle of chocolate syrup doesn’t exactly excite you.
Well, I have great news! Chocolate syrup is ridiculously easy and quick to make. You can have the peace of mind of knowing exactly what is in your occasional sweet treat because you put it there yourself. While this does not turn it into a health food, it does provide you with an option other than mysterious factory produced chemical soup (especially one that usually included HFCS ew!), and also gives you more freedom to create the flavour and texture you like best!
This recipe yields approximately two cups of chocolate syrup.
-Ingredients-
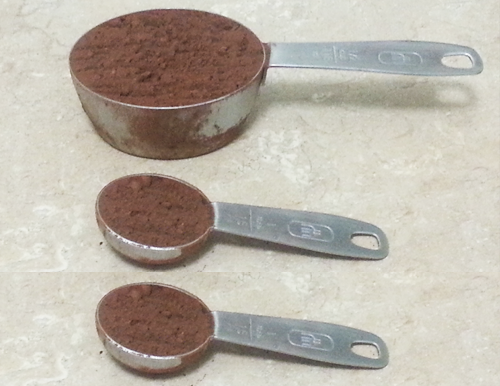
1/2 cup plus 2 tablespoons Cocoa Powder
Okay, so the amount of cocoa powder that you use is really all about your personal tastes. Many many recipes that you will find online do a ratio of 1:2, cocoa to sugar. You may decide that this tastes just right to you and that is just fine! It will simply be a little sweeter and less strongly cocoa flavoured than my version. You may even want to try up to a 1:1 ratio. I have read some recipes from people who prefer this. I think that it is a little too strong and bitter but that is just my taste. I think that my measurements create a flavour with the perfect balance. So please, try it my way first, and then tweak the recipe to your heart’s content and find the flavour that is right for you! It is really hard to completely screw this recipe up. Have fun!
Also, note that you can use this as an opportunity, should you wish, to experiment with cocoa powder. Use any kind you want, be it a simple store brand, or a high end gourmet variety. Try dutched or natural cocoa powder. Making chocolate syrup is the best way to really get a sense of the true flavour of any given cocoa powder. So if you ever want to try a new one for anything, make a quick batch of chocolate syrup with it first to really get a sense of the flavours hidden within it. Chocolate (and therefor cocoa) is like wine, in that there are numerous nuances to the flavour. The only way to learn the subtleties is to experiment and chocolate syrup is one great tool for sampling cocoa powders! For the record I am using some beautiful dutched Callebaut cocoa powder today. Yum!
One further thing I would like to mention, while I have experimented with these measurements and they do work perfectly, when not creating a perfect model of this recipe for a blog post, I don’t usually bother with measuring out a half cup and two tablespoons, I just go with a slightly heaping half cup of cocoa powder. There is really no need to be fussy.
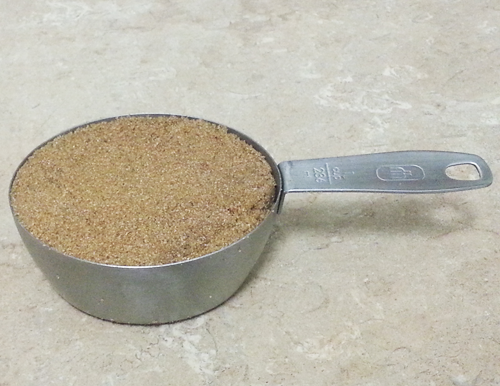
 1 cup Sugar (Brown Sugar or White Sugar)
The original recipes I used to develop my own always used white sugar and therefor so did I, until recently. I recalled hearing from somewhere a long time ago that brown sugar is an awesome substitute for white sugar when making chocolate pudding, and I mentioned that fact in my own chocolate pudding recipe before ever trying it. Well one day I finally got around to trying it and it did give the pudding a slightly richer flavour. Inevitably, this lead me to trying a batch of chocolate syrup with brown sugar instead of white sugar and I definitely prefer it with brown sugar! The difference is not extreme, but it does give the syrup a slightly smoother, velvety texture and the flavour is also just a tiny bit richer, though most people would not be analyzing the taste close enough to really know the difference. So use whatever you have on hand. I recommend brown sugar, but white sugar or even raw cane sugar will work great!
If you use brown sugar, remember to pack it down tightly into the measuring cup.
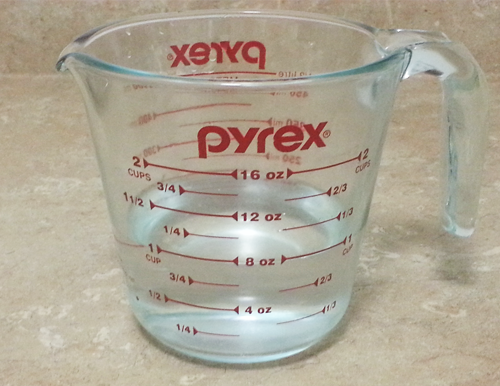
 1 cup Water
Approximately a cup is more like it. I usually add most of the water but not the whole full cup. You only really have to add enough water to get things moving. If you add more water than was really required, you will simply need to simmer the syrup a little longer for it to thicken. No harm done.
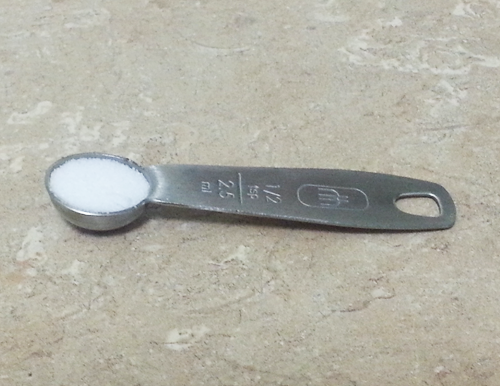
 1/2 teaspoon Salt
I usually use sea salt but table salt works too.
 1 teaspoon Vanilla Extract
-Method-
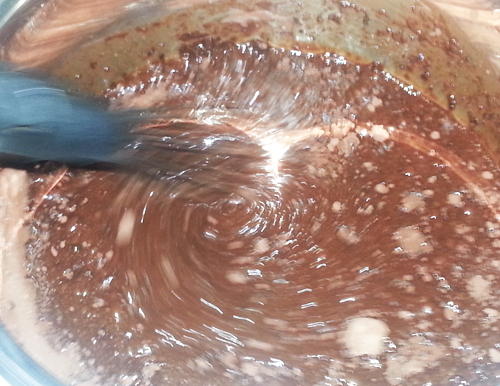
In a medium to large pot, combine 1/2 cup plus two tablespoons of Cocoa Powder, 1 cup Brown Sugar, and a half teaspoon Salt.
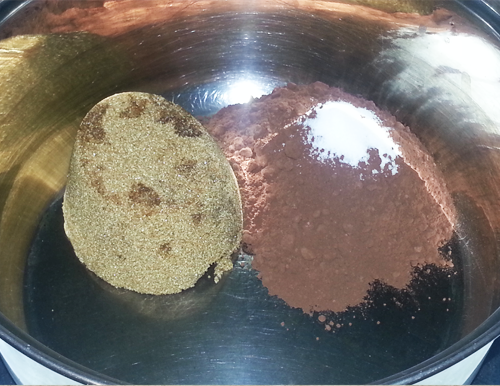
Turn the burner on to a medium heat. Add water, and whisk it to combine the ingredients while the heat rises.
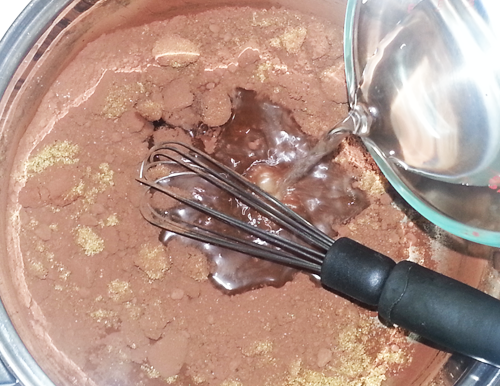 Keep the whisking mostly constant but it does not have to be vigorous. Let the heat rise slowly.
Eventually it will reach the boiling point. Watch it closely and keep it moving most of the time when this happens, because it has a tendency to try to foam and boil over the top of the pot. As long as you are tending to it this will not happen. Let it bubble and steam, keeping it moving as needed, until you think it is the correct consistency.
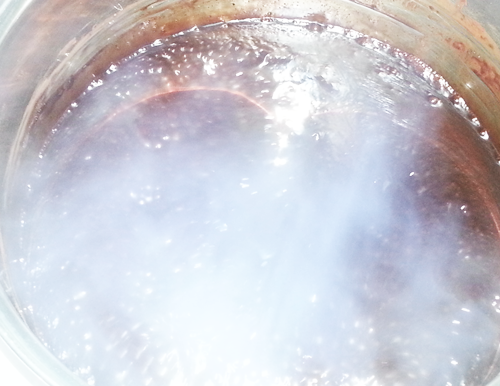 One thing that perplexes me, is how often I see commenters on online chocolate syrup recipes, and sometimes even the recipe poster themselves, mentioning that they were disappointed that the syrup did not get very thick, or even asserting that homemade chocolate syrup can never get as thick as store bought syrup. If somehow this incorrect notion has made a home in your brain, then kick it out.
You can stop reducing the syrup at any time when the texture is to your liking. This can be when it is still quite thin, or you can take it all the way to almost fudge like thickness. I like to aim for about the texture of the popular store bought syrups.
So, once the syrup has been boiling for a couple of minutes, and it looks like it is thickening a bit, simply test it by coating the back of a spoon with the syrup. Blow on it a little because you will get more of a sense of the texture when it is a little cooler. I decide that it is perfect when it appears slightly thinner than store bought syrup, because as it cools it will thicken more. If it gets too thick it will be hard to dilute into liquids, like when making chocolate milk, but you may have some other use for it which you want it to be really really thick for, so if this is the case then reduce it for a few extra minutes.
If you like you can even taste it at this time and add sugar if you think it needs a little more. Then just whisk it for another 20 to 30 seconds to incorporate it.
If you end up reducing it too much and want to thin it, feel free to add a splash of water as needed.
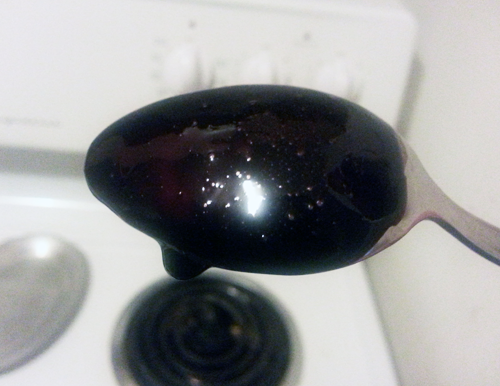 When you are happy with the texture, take it off the heat and immediately add 1 teaspoon of Vanilla Extract.
 I like to store the syrup in mason jars. It is best to let it cool for at least 10 minutes at room temperature before capping it and putting it into the refrigerator. Otherwise condensation will puddle on top of the syrup.
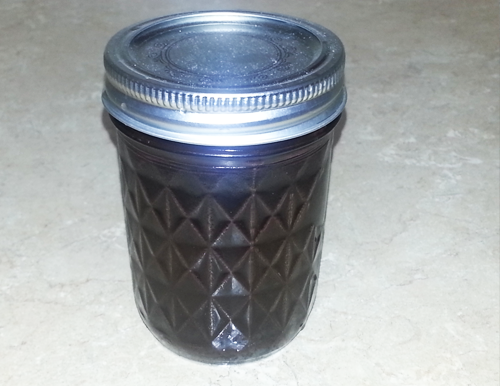 You can use it hot or cold for absolutely any reason, and more, really, than store bought chocolate syrup. I am not sure how long it can be kept. I have never not used up a batch within a month. It seems to me that it will keep for a pretty long time but use your judgement.
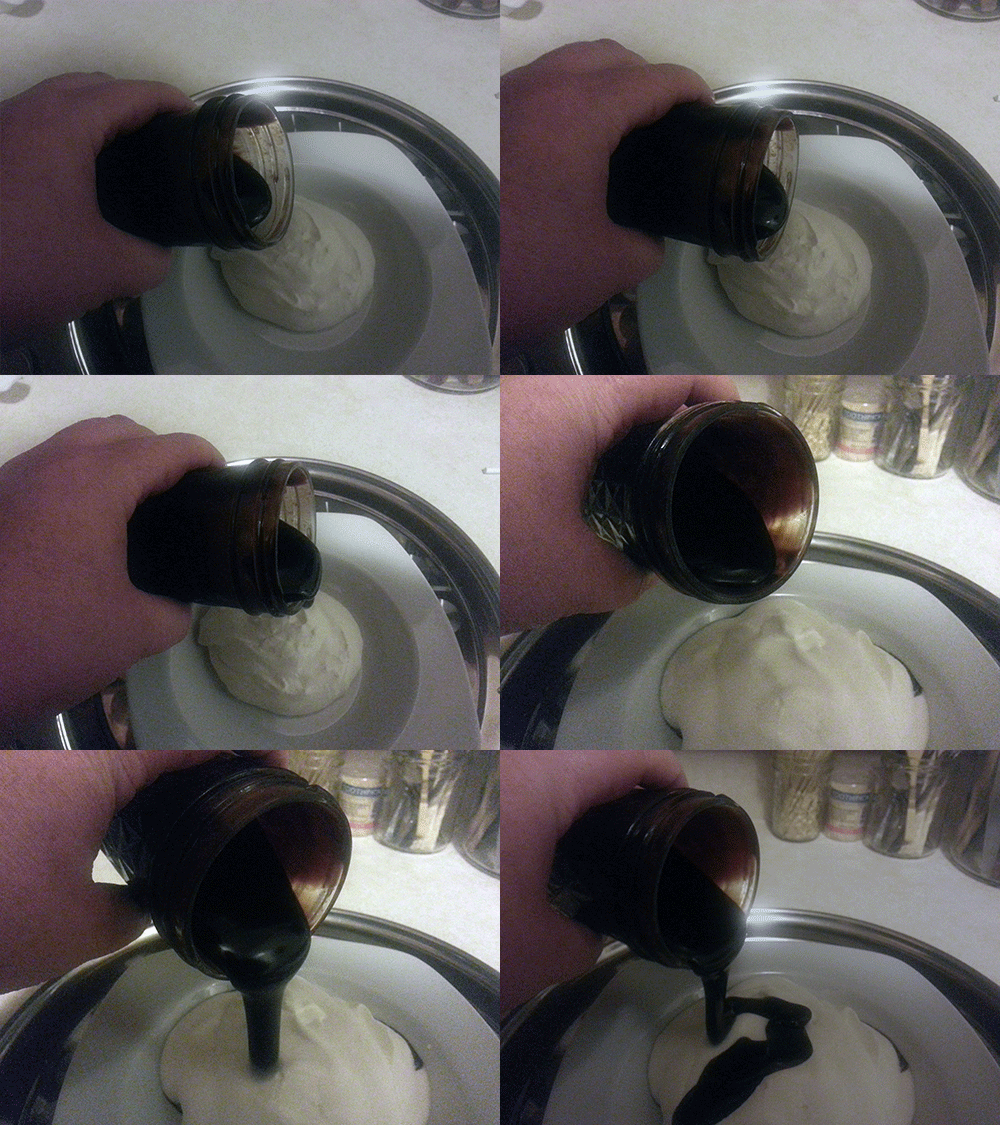
I wanted to demonstrate how it should look when made to my ideal consistency so I made the following GIF. Nice and thick, but still pourable and easily dilutable.
-Printable Version-
CHOCOLATE SYRUP
Ingredients:
1/2 cup plus 2 tablespoons Cocoa Powder
1 cup Sugar (Brown Sugar or White Sugar)
1 cup Water
1/2 teaspoon Salt
1 teaspoon Vanilla Extract
Method:
1. In a medium to large pot, combine 1/2 cup plus two tablespoons of Cocoa Powder, 1 cup Brown Sugar, and a half teaspoon Salt.
2. Turn the burner on to a medium heat. Add water, and whisk it to combine the ingredients while the heat rises.
3. Eventually it will reach the boiling point. Let it bubble and steam, keeping it moving as needed. Once the syrup has been boiling for a couple of minutes, and it looks like it is thickening a bit, test it by coating the back of a spoon with the syrup. Blow on it a little because you will get more of a sense of the texture when it is a little cooler. It is perfect when it appears slightly thinner than store bought syrup.
4. When you are happy with the texture, take it off the heat and immediately add 1 teaspoon of Vanilla Extract.
5. Let it cool for at least 10 minutes at room temperature before sealing it in a storage container and putting it into the refrigerator.


