
Jump to Ingredients – Jump to Method – Jump to Printable Version – Jump to Video
 In my opinion, this is the single best way to cook chicken breasts so that they will be juicy, tender, and succulent. It is fast and easy, and gives you a lot of freedom to dress the dish up in whatever way your imagination desires. With this chicken as the center piece, you cannot fail.
The main point of this post is the chicken. You can eat it straight, with no further flavourings or sauces, and it is incredibly delicious. However, when you cook chicken like this, you are left with fond (stuff cooked onto the bottom of the pan) and it is a crime to waste it, so I am also demonstrating a very simple reduction sauce that you can make to top the chicken. Keep in mind that there are infinite ways to alter the sauce. I will mention a few, but this really is just a basic recipe, meant to be about as simple as it gets. You can tweak it to your hearts content and develop so many versions of this dish, that you could make it almost every single day and never get tired of it. In the future I will certainly post many of my own variations, but no need to wait for me. This is what makes cooking fun. Play around with recipes! This is a great one to practice with.
This recipe is for two chicken breasts. It takes about 25 minutes to prepare.
-Ingredients-
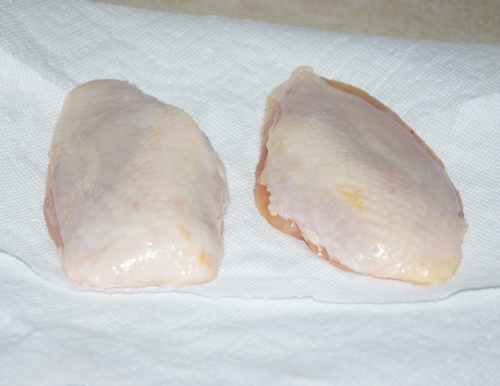
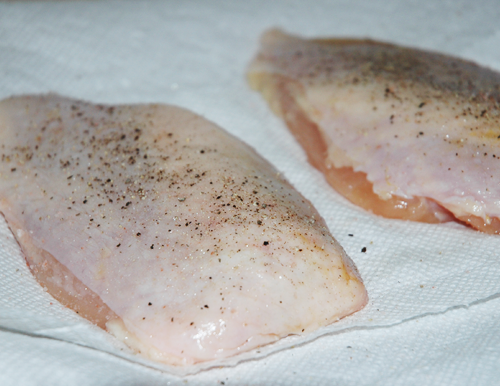
Okay, so technically you can make this dish without the skin on the chicken. However, the skin keeps the chicken moist during cooking, it caramelizes deeply creating a crispy and incredibly flavourful crust, and it would just be a shame to miss out on it! If you are really truly fat phobic (even though saturated fats are healthy especially if you eat real food most of the time), then at least cook the chicken as shown, with the skin, and remove it before serving. You will lose about half the flavour of the whole dish, but at least the chicken will still be succulent.
It is best if the tenderloins are removed.
For cooking the chicken. You need enough to thinly coat the bottom of your pan, so depending on its size, maybe a couple teaspoons or a tablespoon or so. I recommend some kind of animal fat. I am using chicken shmaltz that I rendered while making stock. If you insist on using oil, do not use extra virgin olive oil. It will not stand up to the high heat involved in this cooking method.

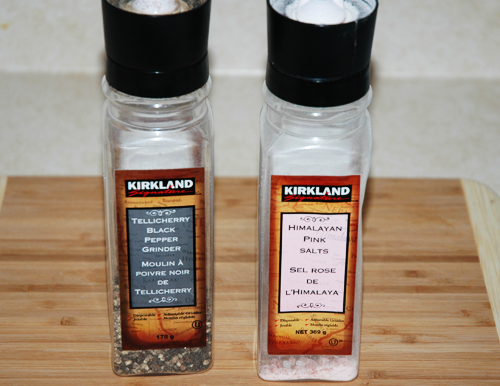
Salt and Pepper
Freshly cracked black pepper, there is no other way. As for the salt, it does not matter if it is freshly cracked, course or fine, that is all a matter of preference. Also, realize that there are different kinds of salt with different flavours. The default salt that most cooks like to use is sea salt, and that is perfect for this. I happen to be using pink salt today. I have been using it a lot lately because I love the flavour. It is more mild than most salts and lends a more savoury flavour to the food.
 That is all you need for the chicken! If you want to make the sauce to go with it, which I highly recommend, the additional ingredients needed are as follows:
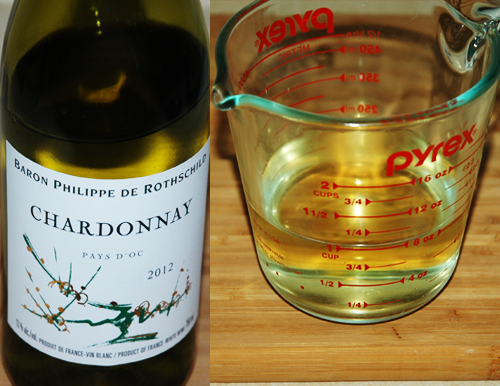
1 cup Chardonnay
Or any dry white wine that you want to use. Fyi, This sauce can be made without any wine. Just using stock still results in a great sauce. So if for any reason you do not want to use wine, just leave this ingredient out.
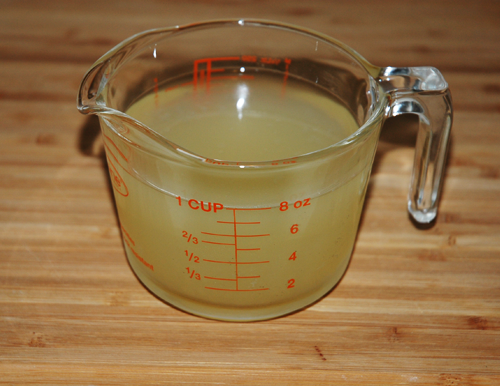
 1 cup Chicken Stock
This ingredient will largely determine the character of the sauce. If you use a very light stock, as I am today, you will end up with a light brown sauce that has a more gentle flavour. If you use a dark, bold stock, your sauce will be very dark brown, and have a bold flavour. Both versions and anything in between is great, so use a stock with the flavour and colour that you want the final sauce to have.
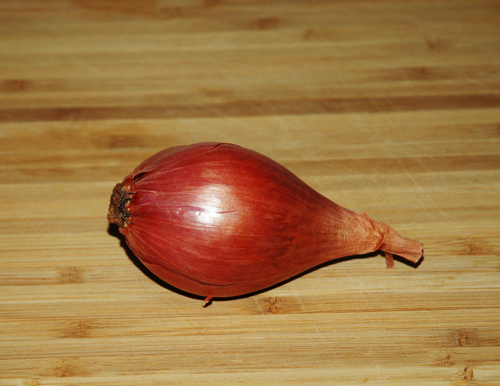
1 Shallot
Or approximately 1/4 cup chopped onions of whatever variety you choose. Yellow, white, and purple onions will all work well.
-Method-
First, dry the chicken well by pressing the breasts between paper towels until you cannot get them any drier. Allow them to set out at room temperature for at least 15 minutes, or however long it takes for the chill from the refrigerator to leave. If they were frozen, be absolutely sure that they are thawed and at room temperature all the way through before beginning.
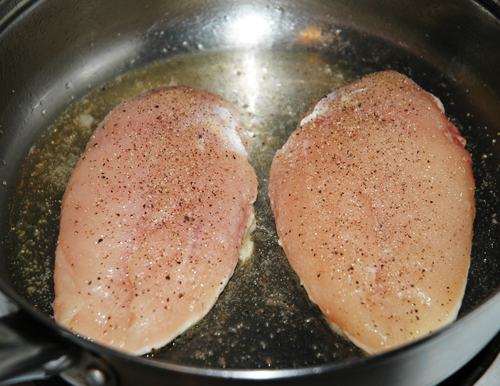
Season the skin sides of the breasts very well with salt. Add pepper to taste.
A stainless steel pan is ideal for this method, though a cast iron skillet can also be used, but I do not like to make pan sauces in cast iron since it disrupts the seasoning on the pan, but if you want, you can use one. The pan is going to go into the oven, so do not use anything with a plastic handle or that should not be placed into the oven for any other reason.
Place the pan onto a burner set at a medium to medium high heat and add the fat. Also, at this time, preheat the oven to 350.
Let the pan, and the fat within, get nice and hot before adding the chicken. You want it to sizzle vigorously the moment you add the meat. Do not, however, let the pan get so piping hot that the oil/fat smokes or splatters.
Once the pan is heated sufficiently, lay the breasts, skin side down into the pan.
 Season the other side of each breast with lots of salt, and pepper to taste.
You want to get the skin really crispy and well browned. This takes anywhere from 5 to 7 minutes, typically. Do not worry so much about how long they sizzle. The time I have given is just a general guideline. The name of the game right now is getting those skins to a deep brown colour, not just slightly golden brown. Do not even touch them for at least 5 minutes. Just let them sizzle where you lay them until at least that much time has passed. Then check the colour of the skins. If they could get a bit darker, let them go another minute or two until they are just right.
(If you want to add more herbs and/or spices, now is the time to add them to the exposed sides of the breasts after you add the salt and pepper. Do not spice the skin side until you flip the breasts. If you put herbs and spices on the skin side before you sear it, they will scorch!)
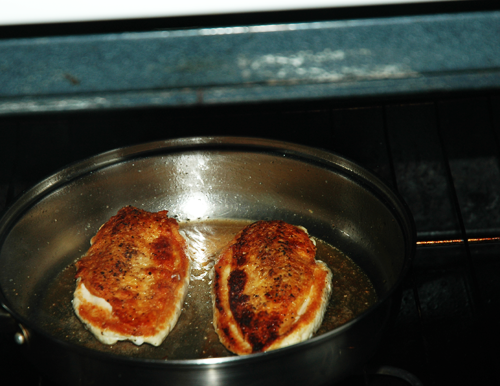
 Once you have achieved the perfect colour, flip the breasts and immediately place the pan into the hot oven.
(Again, if adding more herbs or spices, have them ready and add them to the skin side quickly, immediately after the flip, and get the pan into the oven right away.) 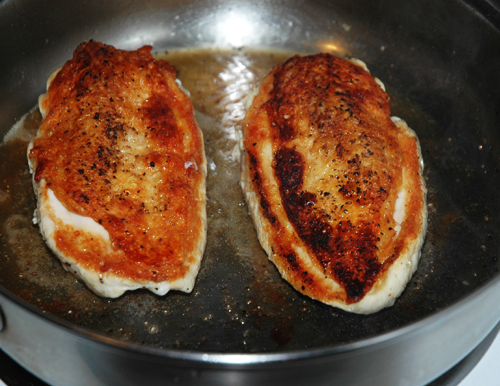
If making the pan sauce with onions, now is a good time to dice your onions. You can dice them into as large or as small bits as you want.

It usually takes 5 minutes in the oven to cook the meat thoroughly, but this may vary depending on the size of the breasts. The ones that I am preparing are what I consider average. Larger pieces may need around 8 minutes.
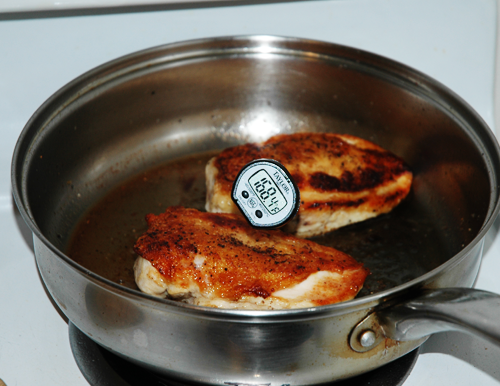
When in doubt, use a thermometer and as long as the meat is at least 165 degrees it is done. Anywhere between 165 and 180, however, is fine, so don’t worry if the temperature is on the high end.
 Put the chicken breasts, skin side up, onto a cutting board and set aside to rest for about 10 minutes before slicing or serving. This will allow the juices to settle.
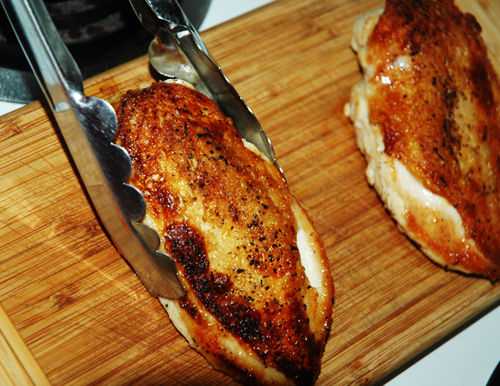 It will also give you just enough time to make the sauce.
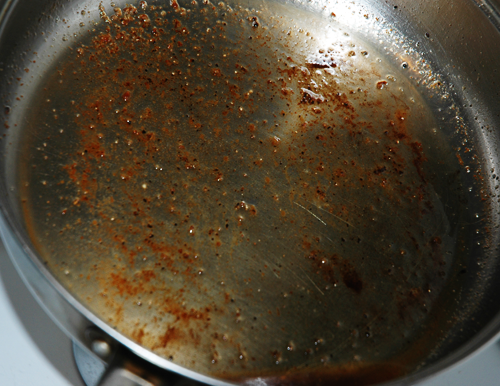
So what you have left on the pan is the fond. That is where a lot of the flavour in the sauce will come from. There is also a bit of salt and pepper leftover in there, which may be all you need to season the sauce, but at the end of this process, you will want to taste the sauce and add salt and pepper if there is not enough.
There is also probably some fat leftover. You want some in there to saute the onions, but if there is much more than you think you need for that task, you can discard some of it.
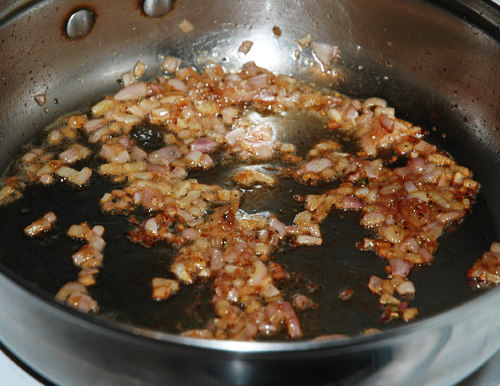
 Saute the onions in the pan on a medium high heat, with the fond, until they have some colour and have softened.
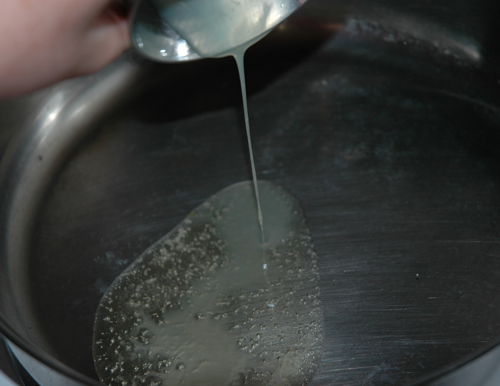
 Crank the heat up to the highest setting and pour in one cup of white wine. Scrape the pan to deglaze.
 Allow the wine to boil and reduce quickly. I consider it reduced sufficiently by scraping the pan with a spatula, and if the clean part does not refill quickly, it is reduced enough. You want most of the liquid gone.
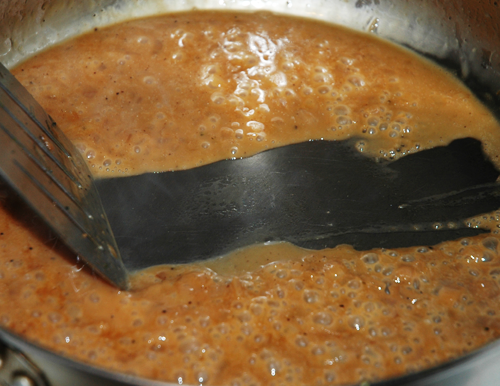
 Add 1 cup of chicken stock.
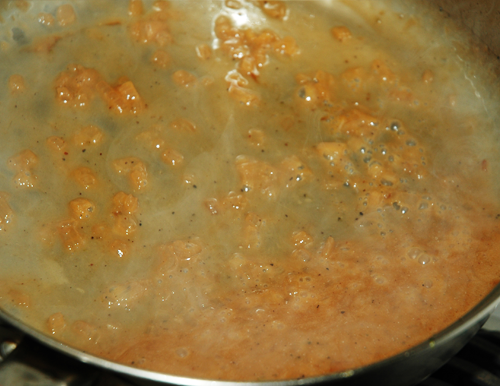
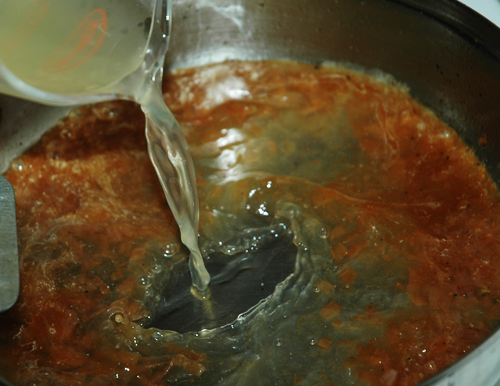 Again, allow it to boil and reduce. It is done when it reaches your desired thickness. I use the scrape test again.
 You can also observe how it coats a spoon or the pan when removed from the heat and swirled around for a few seconds. If it coats the spoon or the pan nicely then it is probably just right. Some people like it thinner or thicker, so it is up to you exactly when to stop reducing it.
Don’t forget to check for seasoning.
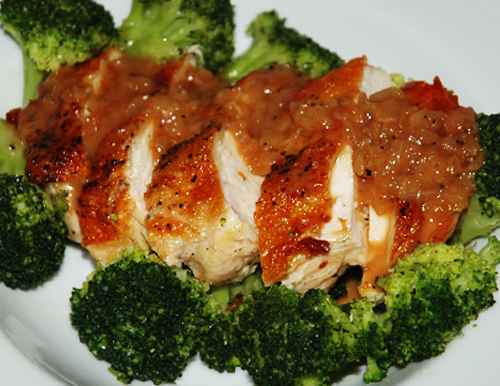
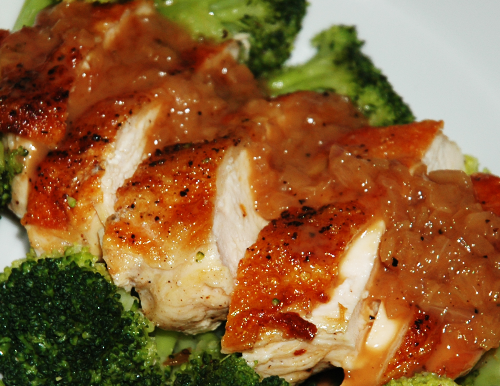
 It has probably taken you 10 to 15 minutes to make the sauce, so now you can slice the chicken breasts and plate them. You can serve them with pretty much any sides you can think of. They go with everything. If you want to serve mashed potatoes, you may want to make a little extra sauce because the sauce goes great on them. Anyway, today I am simply serving the chicken on a bed of broccoli. Nice and simple, yet elegant and healthy. A perfect dinner!
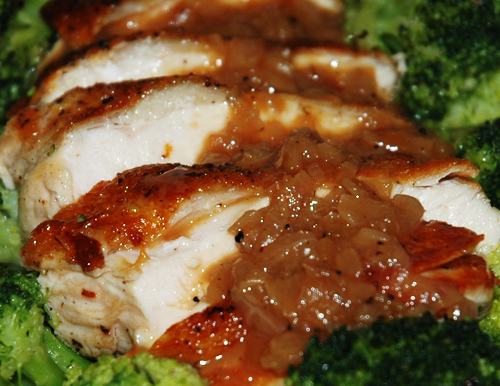
 And of course, if you did make the sauce, spoon some over the chicken and take this already delicious dish to greater heights! You have got well seasoned, juicy meat, with crispy, salty skin that is reminiscent of bacon, topped with a sauce that is so savoury, you may not even be sure that you can handle it, plus there is a mild zesty tang in the background thanks to the wine, and just a touch of sweetness from the onions.
 Do play around with herbs and spices on the chicken and in the sauce. This simple version is quite worthy just the way it is, but there is no reason to make this sauce the same way every time! You can try adding a pat of butter to the sauce at the very end, after the stock is reduced, to add an extra degree of richness to it. You can also just leave out the onions and make a smooth sauce. Try adding sauteed mushrooms, garlic, cream, or even a touch of tomato paste. There is no way to list all of the possible variations here. Have fun!
-Printable Version-
CHICKEN BREAST WITH REDUCTION AND ONIONS
Ingredients:
2 Chicken Breast with Skin
1 cup Chardonnay
1 cup Chicken Stock
1 Shallot
Salt and Pepper
Fat or oil
Method:
1. Dry the chicken well by pressing the breasts between paper towels until you cannot get them any drier. Allow them to set out at room temperature for at least 15 minutes, or however long it takes for the chill from the refrigerator to leave.
2. Season the skin sides of the breasts very well with salt. Add pepper to taste.
3. Place a stainless steel pan onto a burner set at a medium to medium high heat and add the fat. Also, at this time, preheat the oven to 350.
4. Once the pan is heated sufficiently, lay the breasts, skin side down into the pan.
5. Season the other side of each breast with lots of salt, and pepper to taste.
6. Allow the breasts to sizzle for 5 to 7 minutes or until the skins are well browned and crispy.
7. Flip the breasts and immediately place the pan into the hot oven. Bake for 5 to 8 minutes or until they reach 165 to 180 degrees. While they bake, dice the shallot.
8. Put the chicken breasts, skin side up, onto a cutting board and set aside to rest for about 10 minutes before slicing or serving.
9. Saute the diced shallots until they have a little colour and are softened.
10. Crank the heat up to the highest setting and pour in one cup of white wine. Scrape the pan to deglaze. Allow the wine to boil and reduce quickly.
11. When most of the wine is evaporated, add one cup of chicken stock.
12. Reduce until it reaches desired consistency. Check the sauce for seasoning and adjust as needed.
13. Slice the chicken breast into thick slices and top with a spoonful or two of sauce.
