Jump to Ingredients – Jump to Method – Jump to Printable Version
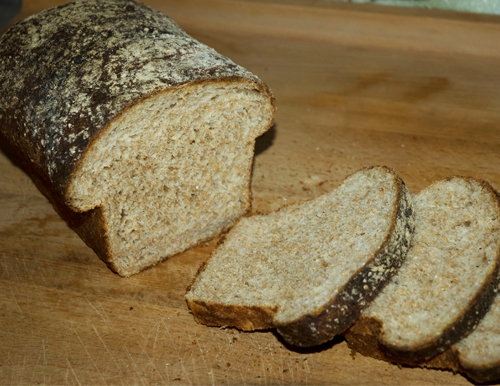 This is a recipe and method adapted from one of the recipes in Peter Reinhart’s The Bread Baker’s Apprentice.
Making good whole wheat bread is quite different than making white bread. Technically, you can follow a similar method as when making white bread if you want. You will end up with bread. But the texture will not be beautiful and the flavour will be flat. Whole wheat bread needs love. It also needs time. This recipe takes a minimum of 11 hours from start to finish.
Though it requires patience, you will find that it is worth it! I have never tasted such a delicious whole wheat bread in my life and doubt anything can top it. It is rich, dense, moist, and the flavour is so complex, yet not overbearing in any way. This is absolutely perfect bread for any application you would normally use whole wheat sandwich bread for and more.
You can also shape this dough in any way you want. So you can make rolls, baguettes, garlic knots, or whatever possible shape of bread you want! Eventually I will post more bread shaping articles for which you can use either my white bread dough or this dough, but you don’t really need to wait for me. Go ahead and experiment!
This recipe will yield one loaf of bread. Depending on how thickly you cut the slices you should get around 10 to 12 slices of bread from the loaf.
-Ingredients-
There are three sets of ingredients for this recipe, two pre-doughs (a soaker and a biga), and then the final dough. Instead of bulking all ingredients into one list, I am listing the ingredients for each portion of the recipe separately.
For the soaker:
1¾ cups (227 grams) Whole Wheat Bread Flour
When it comes to flour, I am fortunate to live in Canada. Canada is world renowned for having some of the best flour, especially for bread making. I am using Robin Hood Whole Wheat Bread Flour. It is coursely milled and has a very high protein content. Results will vary according to the flour you end up using. Try to find the best whole wheat bread flour you can.
 ½ teaspoon (4 grams) Salt
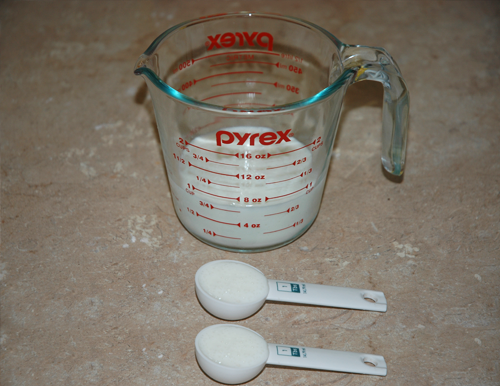
 ¾ cup plus 2 tablespoons (198 grams) Buttermilk, or Yogurt
Or any kind of fermented dairy product. You can use plain milk in a pinch but the tartness of fermented dairy adds a depth to the flavour of the finished bread. I usually opt for buttermilk.
1¾ cups (227 grams) Whole Wheat Bread Flour
 ¼ teaspoon (1 gram) Instant Yeast
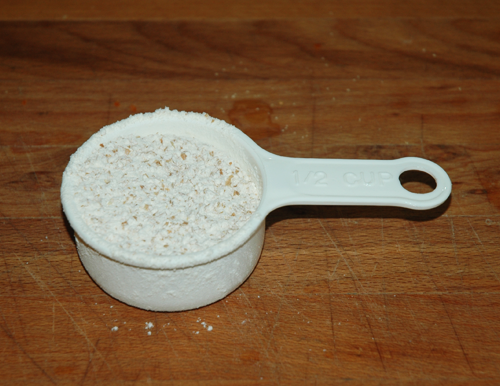
Approximately 1/2 cup of Whole Wheat Bread Flour (as needed)
The original recipe calls for 5/8 teaspoon, but seriously, who is going to measure such a strange volume? Just make it slightly more than a half teaspoon and I do not think that the bread gods will strike your loaf down. Really, it will be okay.
 2¼ teaspoons (7 grams) Instant Yeast
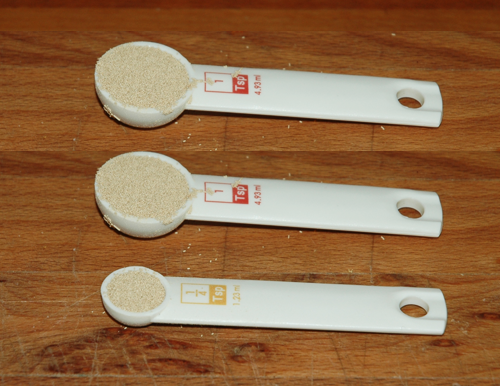 2 tablespoons plus 1 teaspoon Honey
 1 tablespoon (14 grams) Unsalted Butter, melted
Plus extra for coating the pan and the loaf, if desired.
 And of course, all of the soaker and biga.
-Method-
It is best to start the night before you want to make the bread. You must make two pre-doughs and let them rest for at least 8 hours.
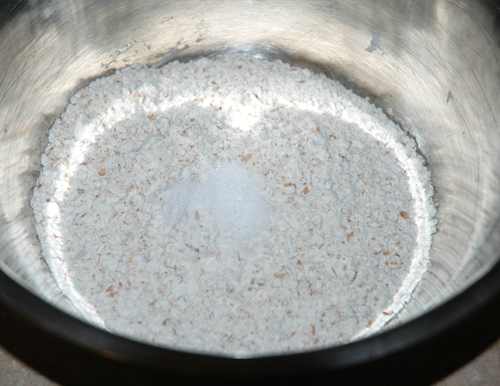
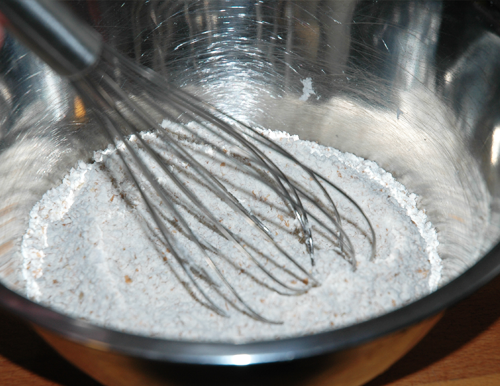
To make the soaker, combine 1¾ cups whole wheat bread flour and ½ teaspoon salt. I like to whisk them together.
Add ¾ cup plus 2 tablespoons buttermilk.
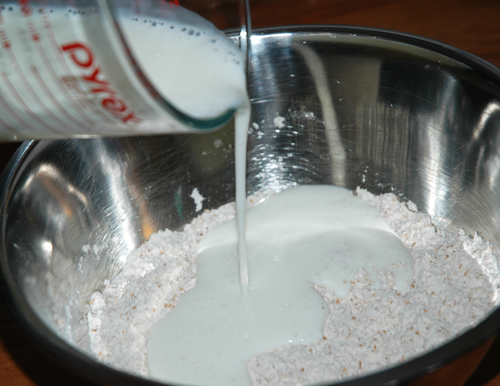 I use one finger to incorporate the wet and dry ingredients until it forms a wet dough.
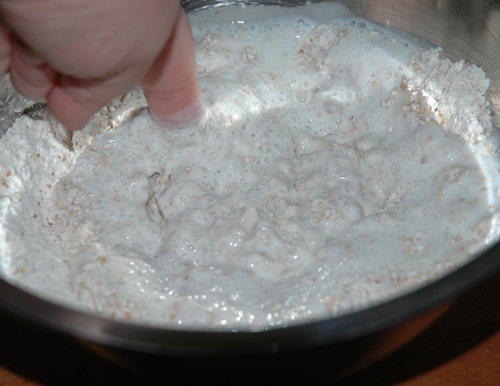 Knead the soaker for about a minute or until all ingredients are well combined and you have a nice wet lump of dough. I do all the kneading directly in the mixing bowl.
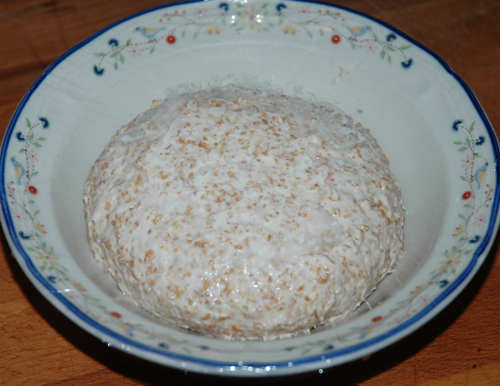
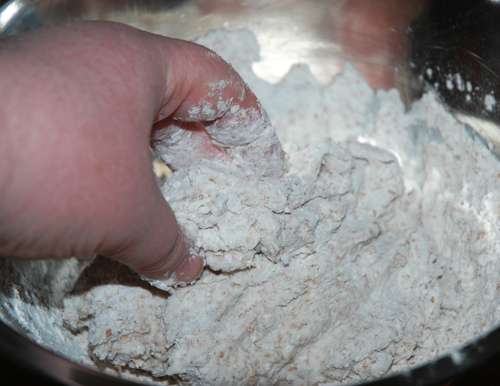 Round off the dough by tucking all edges underneath it. Put the soaker into a clean bowl and cover with plastic wrap. Leave it at room temperature for at least 8 hours and up to 24 hours. The longer it sets, the more it will ferment and the deeper the flavour will be.
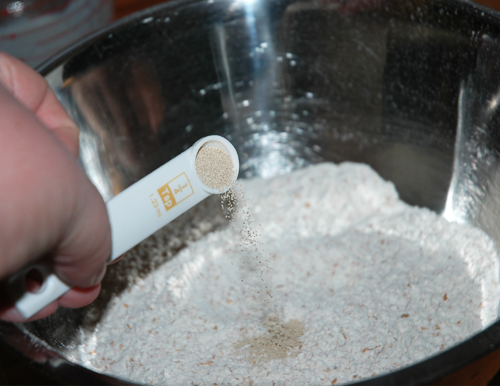
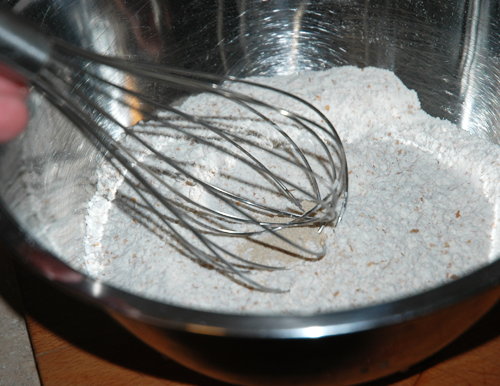
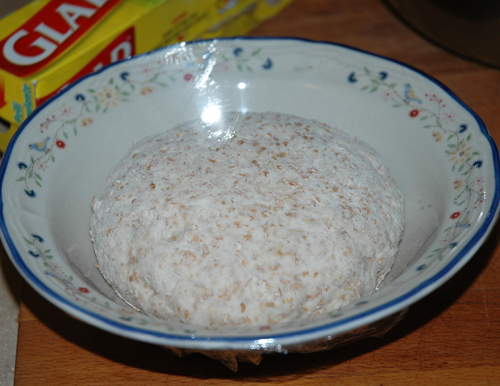 To make the biga, whisk together 1¾ cups whole wheat bread flour and ¼ teaspoon instant yeast.
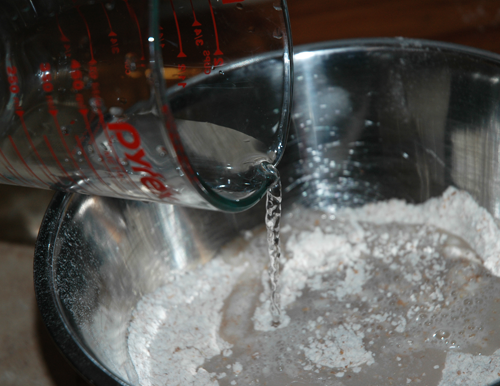 Mix everything together. Again, I use one finger to stir, in order to avoid using a utensil and to avoid getting too much dough stuck to my hands.
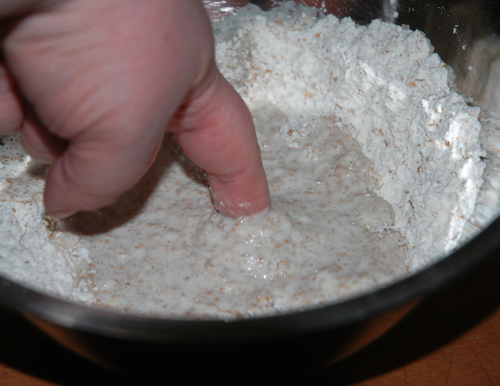 Knead the biga for a couple of minutes. This pre-dough contains yeast, so it needs a little more attention than the soaker. You want to develop a nice gluten matrix so that the yeast can properly ferment the dough. After the initial brief knead, let the dough rest for about 5 minutes, then give it another quick knead. Only about a minute should do it. You will be left with a wet and tacky ball of dough.
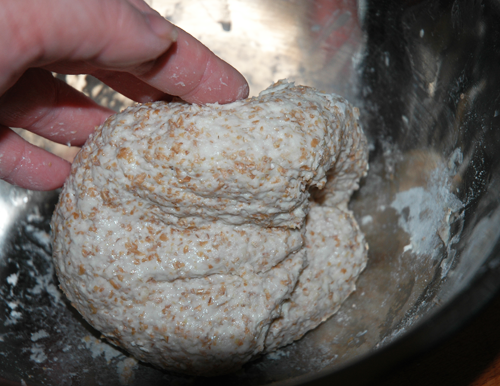 Round off the biga and place it into a clean bowl. Cover with plastic wrap. Put the biga into the refrigerator to rest for 8 to 24 hours.
So, to be clear:
The soaker (buttermilk and salt) goes on the counter in room temperature for 8 to 24 hours.
The biga (water and yeast) goes into the refrigerator for 8 to 24 hours.
People sometimes get confused about that so I just wanted to reiterate.
After at least 8 hours, and about 2 to 5 hours before you want to make the final dough, take the biga out of the refrigerator and set it out at room temperature in order to take the chill off of the dough, as well as let the yeast that is in it wake up a bit.
The biga will have risen quite a bit and both doughs will be wetter than they were when you first wrapped them up.
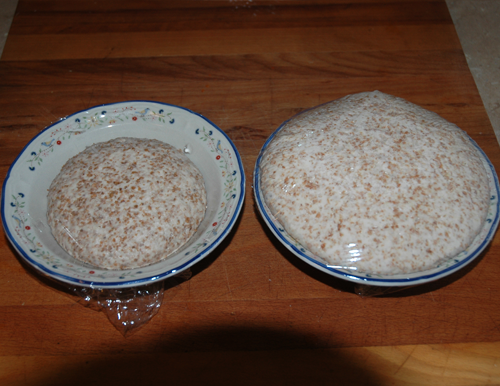 Now that you have both doughs well rested and both at room temperature, it is time to prepare the final dough.
Put both pre-doughs into a large mixing bowl and add a heaping half teaspoon of salt, 2 1/4 teaspoons instant yeast, 2 tablespoons plus 1 teaspoon honey, and 1 tablespoon melted butter.
 Now get your hands in there and mix everything up. You aren’t kneading yet. You actually want to tear each pre-dough up into a few smaller pieces and scramble them all together so that the two can be evenly combined as you knead. You don’t have to be fussy about it. Just tear each piece into maybe around 5 to 8 bits and just mix everything together really well.
Now start kneading. It will be a very wet dough. Whole wheat bread dough needs a very high moisture content. Much higher than white bread dough. It is a different feel. It should also feel very stretchy. Again, I like to do all this kneading right in a large stainless steel mixing bowl, but you can do it on the counter top if you prefer.
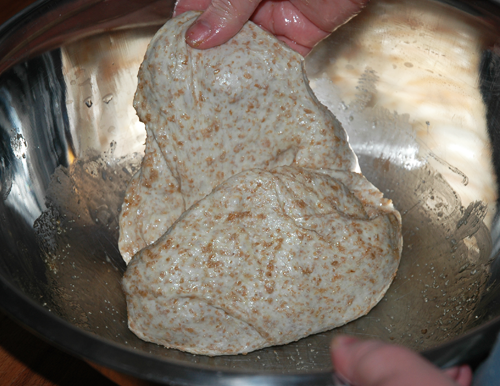 When the dough is starting to come together, start adding a few shakes of whole wheat flour here and there and continue to knead. You should only have to add around a half cup or less to get the right consistency. You want to knead the dough for about 5 to 8 minutes. It really does matter so do not skimp on this step. You have to build a nice strong and tight gluten matrix and this takes time. By the way, while other doughs are easiest to knead with floured hands, you actually want to try to keep your hands a little moist to knead this kind of dough. It is a wet and sticky dough, so wet hands do not stick to it as easily as dry hands or floured hands.
After kneading for 5 to 8 minutes, round off the dough and give it a 5 minute rest, covered (either with plastic wrap, a damp cloth, or just underneath an overturned bowl). This will give the gluten a chance to relax. Knead the dough for another minute or so after the bench rest.
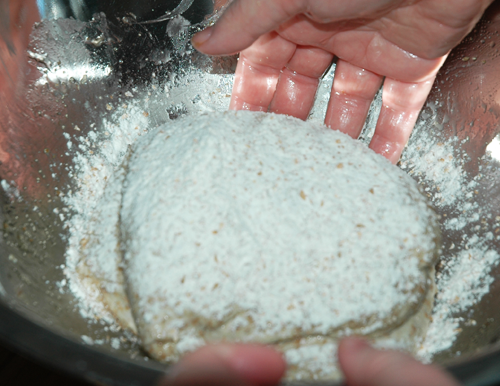 When the kneading is done, you should be left with a soft and only slightly sticky dough. You will know that it is ready because it will not be too difficult to work with whether your hands are wet or dry, and you can knead it for the last minute or so without it getting too sticky.
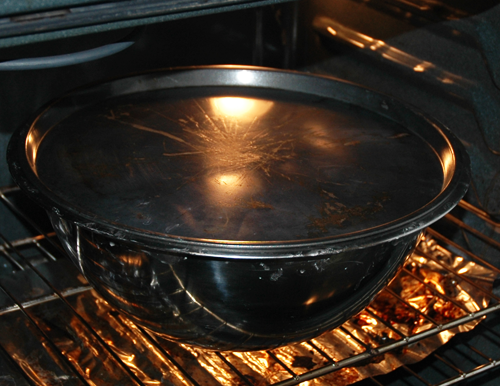
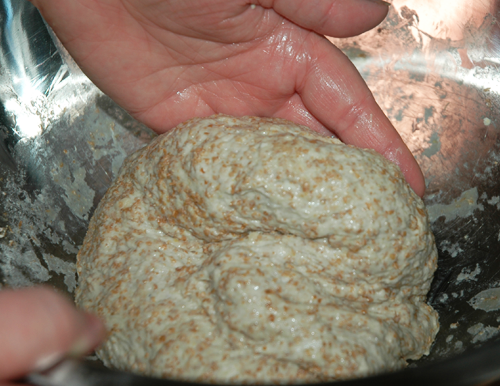 Again, round off the dough and set it aside to rise. I like to put it into a bowl, with a pan on top to keep the dough from drying out, inside the oven, turned off, but with the light on. You can cover it with a damp cloth or use any technique you like, so long as the dough stays moist and does not stick to whatever you are using to cover it. Also you may just leave it on the counter top instead of a slightly warm oven. The cooler the area that the dough is left to rise, the longer it will take. With my method, it usually takes about 50 minutes. You want the dough to almost double in size. Once it has done so, no matter how long it has been, it is time to move on to the next step.
 Generously flour a work surface and place the risen dough upon it. Press out all air bubbles and give the dough just a few kneads.
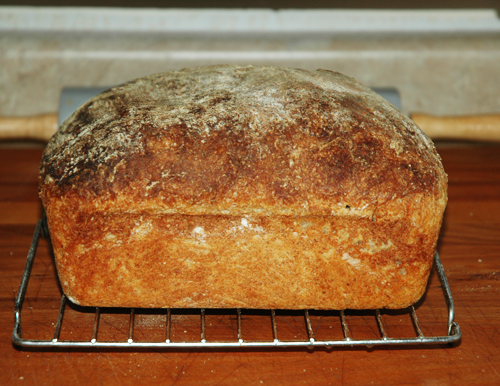
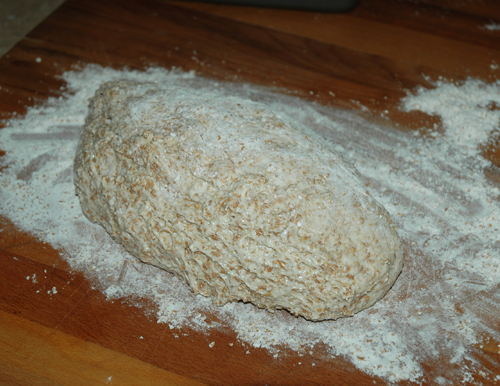 Once you feel all air has been pushed out of the dough you can form it into a loaf. There are various techniques to do this. One technique I show in detail in my soft white bread loaf recipe. That technique works great for this dough as well. Today I am using a different method. I simply flattened the dough into an oval shape, the thinner width being the length of the loaf pan, then I folded the long ends a third of the way across and pinched them down. No fuss. This method is easier than the one I used for the white bread, however, this method usually gives the loaf much more girth in the center than on the ends. With the other method it will be more uniform in girth the whole length of the loaf (like the loaf in the first picture in this article). Either way the bread will turn out great so just use whatever shaping technique that you prefer, be it one of these or a different one.
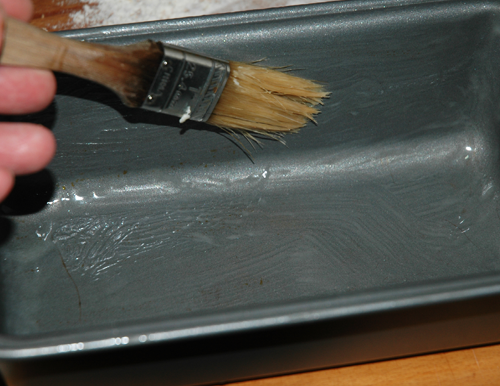
 Butter an 8×4 loaf pan and place the loaf inside, seam side down. It should be just about a perfect fit. You want the edges to touch the sides all around the pan or at least come very close.
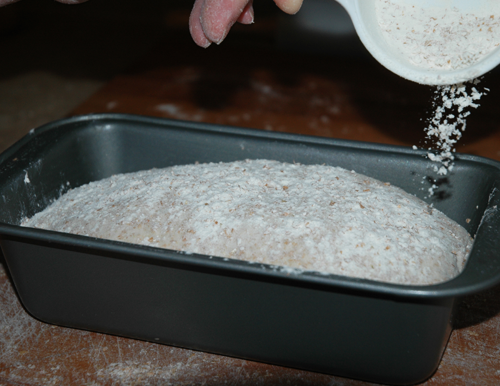
 Now the loaf must rise. Again, you want to protect it from drying out as it does so. Since this is a sticky dough, I like to dust the top of it with a little whole wheat bread flour and cover it with plastic wrap. This way the plastic will not stick. This will also give the bread a nice rustic look when it is finished baking. Alternatively you can try brushing it with a little butter and covering it with plastic or a damp cloth, or simply keep the dough in a very humid place and do not cover it at all. Find the technique that works for you.
 I put it back into the oven, still turned off but with the light on for a gentle warmth. It should take around a half hour, give or take 10 minutes, for the dough to rise sufficiently. Instead of focusing on time, focus more on the appearance of the loaf. When it crests about 2 to 3 inches over the rim of the pan it is ready.
It is during this step that you will learn something about the integrity of your dough. If everything went perfectly, meaning you managed to knead the dough just right, as well as created the perfect moisture content, when the dough is fully risen, it will maintain a perfect and unbroken skin all around it. In the picture below, I highlighted an area that has torn. This means that something was slightly off. I made this batch after many weeks of not making this bread, so I was out of practice. When I make it regularly, I get a feel for it and get into a groove and this happens much less often. Still, it will happen from time to time no matter how often you make bread. It is mostly an aesthetic issue (and a slight texture issue) so do not fret if this happens to you. I just want you to know how to tell if everything is going perfectly. Aim for an unbroken skin, and your bread will improve as you learn to obtain it.
Remember, the dough is not a failure if the skin tears a little. Especially if it is just a little tear like in my dough below.
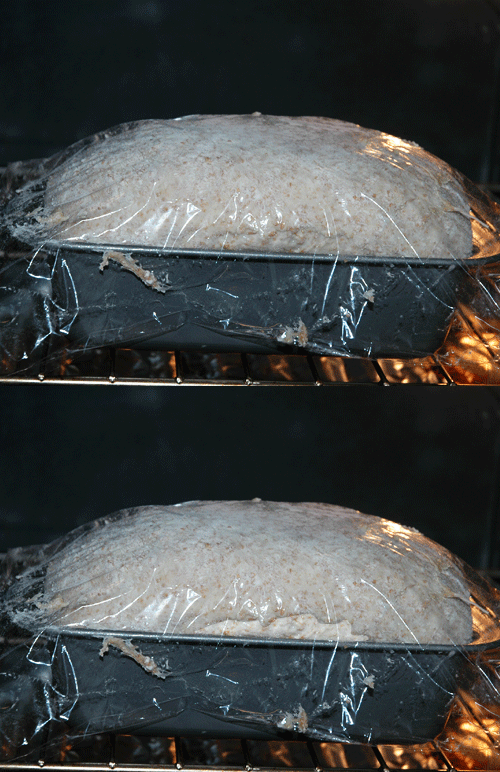 Take the pan with the risen dough out of the oven and preheat the oven to 425f with the rack in the lower third of the oven. Take off the plastic and simply leave the pan on the counter for the 6 to 7 minutes it will take for the oven to heat up.
Bake for 25 to 35 minutes. If you have a food thermometer you can be sure that it is cooked just right by measuring the temperature in the center of the loaf. It is done when it registers anywhere from 195f to 205f.
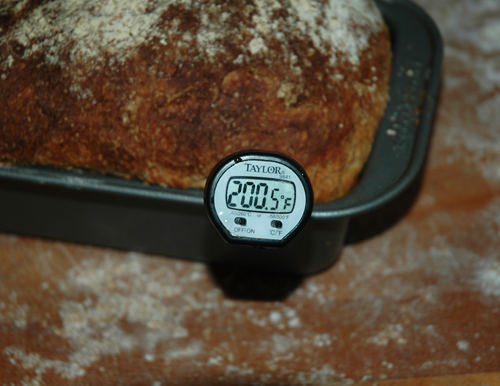 Immediately remove the loaf from the pan and place on a rack to cool. Let it cool for at least 45 minutes before slicing.
The bread will stay fresh for about three days if stored in a bread box or wrapped in foil or plastic. If you intend on using it beyond that you may preslice it and freeze the slices.
-Printable Version-
WHOLE WHEAT BREAD PAN LOAF (SANDWICH LOAF)
Ingredients:
For the soaker:
1¾ cups (227 grams) Whole Wheat Bread Flour
½ teaspoon (4 grams) Salt
¾ cup plus 2 tablespoons (198 grams) Buttermilk, or Yogurt
For the biga:
1¾ cups (227 grams) Whole Wheat Bread Flour
¼ teaspoon (1 gram) Instant Yeast
¾ cup (170 grams) Water
For the final dough:
all of the soaker
all of the biga
approximately 1/2 cup of Whole Wheat Bread Flour (as needed)
a heaping half teaspoon Salt
2¼ teaspoons (7 grams) Instant Yeast
2 tablespoons plus 1 teaspoon Honey
1 tablespoon Unsalted Butter, melted (Plus extra for coating the pan and the loaf, if desired)
Method:
1. To make the soaker, combine 1¾ cups whole wheat bread flour, ½ teaspoon salt, and ¾ cup plus 2 tablespoons buttermilk.
2. Knead the soaker for just about a minute or until all ingredients are well combined. Round off the dough, cover, and place somewhere at room temperature to rest for 8 to 24 hours.
3. To make the biga, combine 1¾ cups whole wheat bead flour, ¼ teaspoon instant yeast, and ¾ cup water.
4. Knead the biga for two minutes, round it off, cover, and give it a 5 minute bench rest. Knead for one minute. Round off again, cover, and place into the refrigerator for 8 to 24 hours.
5. After at least 8 hours, and about 2 to 5 hours before you want to make the final dough, take the biga out of the refrigerator and set it out at room temperature in order to take the chill off of the dough, as well as let the yeast that is in it wake up a bit.
6. Put both pre-doughs into a large mixing bowl and add a heaping half teaspoon salt, 2 1/4 teaspoons instant yeast, 2 tablespoons plus 1 teaspoon honey, and 1 tablespoon melted butter.
7. Tear each pre-dough up into a few smaller pieces and scramble them all together so that the two can be evenly combined as you knead.
8. Knead the dough for about five to eight minutes, adding about a half cup of flour, or as needed, to create a soft and only slightly sticky dough. Round off the dough, cover, and give it a five minute bench rest. Knead for about one more minute.
9. Round off the dough, cover, and set aside, preferably in a warm place to rise for around 50 minutes or until it almost doubles in size.
10. Generously flour a work surface and place the risen dough upon it. Press out all air bubbles and give the dough just a few kneads.
11. Form into a loaf, and place, seam side down, into a buttered 8×4 loaf pan.
12. If desired, dust the loaf with flour or brush with butter. Cover and set aside in a warm place to rise. Allow it to rise for around 30 minutes, or until the dough crests two to three inches over the rim of the pan.
13. Turn the oven on to 425f and let it come up to heat before placing the loaf inside. The pan should be placed on a rack in the lower third of the oven.
14. Bake for 25 to 35 minutes. If you have a food thermometer you can be sure that it is cooked just right by measuring the temperature in the center of the loaf. It is done when it registers anywhere from 195f to 205f.
15. Immediately remove the loaf from the pan and place on a rack to cool. Let it cool for at least 45 minutes before slicing.
Stays fresh for three days in a bread box or wrapped.

