Jump to Ingredients – Jump to Method – Jump to Printable Version
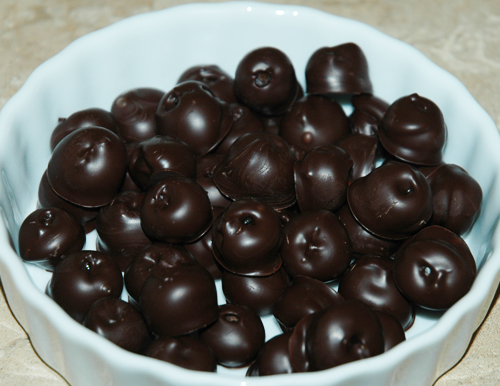
Lots of things are awesome when coated in chocolate. Whatever you are coating, the process is more or less the same. I wanted to post a recipe to show the tempering and coating process step by step and could have used anything, but I decided to go with blueberries. Not many people think about coating blueberries in chocolate. It is not as obvious as strawberries, bananas, or nuts, but it is really delicious. Chocolate covered blueberries is one of my favourite treats.
This article is not exactly a recipe. It is more of a “how to”, but I will treat it like a recipe post to make the process clear and easy to follow. You can follow this guide to coat just about anything. Keep in mind that I am using dark chocolate. You can use any kind of chocolate you want by aiming for slightly different temperatures, but everything else about the process is the same. In this post I will not go into great technical detail but if you would like to know more about what is going on, or use a different kind of chocolate (milk or white), please visit this article, where you will find all of the information that you should need. That article also describes other techniques that I do not perform here. Also, in order to proceed, you must have a food thermometer. Just about any kind should be fine. I am actually using one of the worst kinds (a digital meat thermometer)for this type of job yet I manage, so whatever you use, you should not have too much trouble.
-Ingredients-
Blueberries
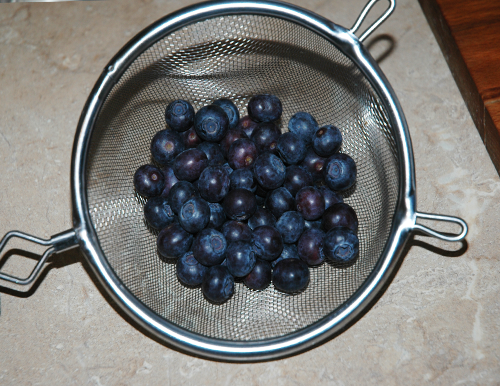
Large, ripe, fresh, and blemish free blueberries are best. Take your time and pick out the best ones. Each one will be the center piece of a delectable candy, so you want to use only the nicest specimens.
Dark Chocolate
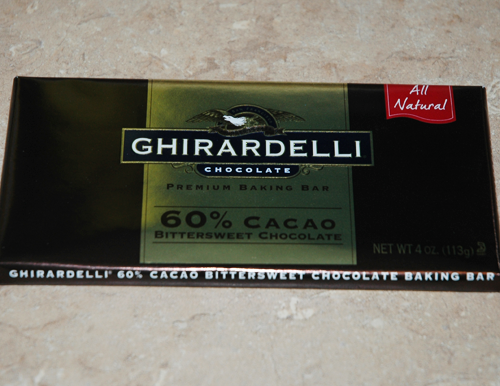
Any kind you like! I recommend, especially if you are new to tempering, to work with at least a pound of chocolate. I only used a half pound while creating this tutorial but a bit more than that will be easier to deal with. Remember that when you are finished, any extra chocolate you have can be saved for use another day. So even if you do not need a full pound of chocolate for your project, you will not be wasting the chocolate by tempering a larger batch.
-Method-
Wash your blueberries well.
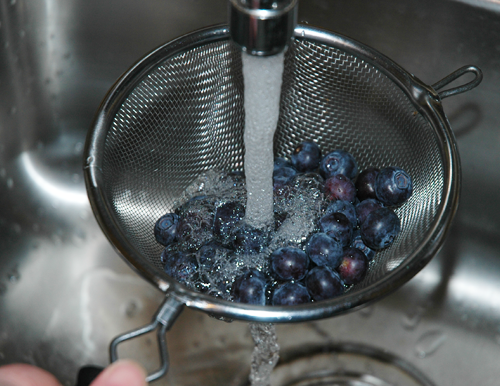 Now that the blueberries are clean you must dry them completely. Not a single trace of water can be left on the surface of the blueberries while you are dipping them into the chocolate, or the chocolate will seize and will never set correctly. So I spread them out on a paper towel and give them plenty of time to dry. An hour is safe.
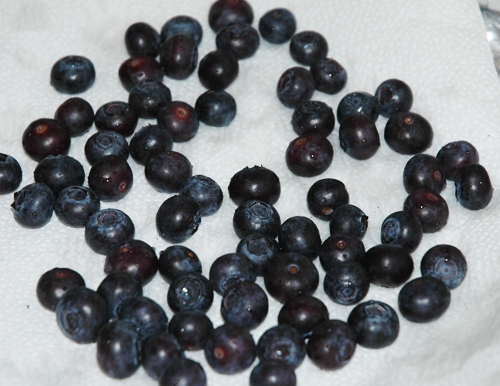 Before you begin tempering, make sure the blueberries are absolutely dry. Like this lovely specimen.
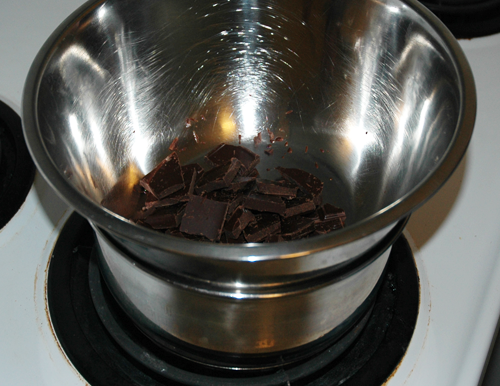
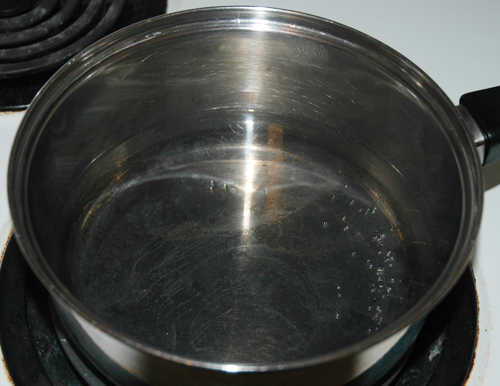
 When you are ready to begin tempering your chocolate, set up a double boiler. If, like me, you do not have a double boiler simply simmer a small amount of water in a pot and find a stainless steel bowl or smaller pot that can sit on top of it so that the heat coming off of the simmering water will gently warm the chocolate. Bring the water up to a gentle boil and then turn the heat down to a simmer. Be sure that the water is low enough that, when the vessel holding the chocolate is placed on top of the double boiler, it does not come into contact with the water. This would risk heating the chocolate too much.
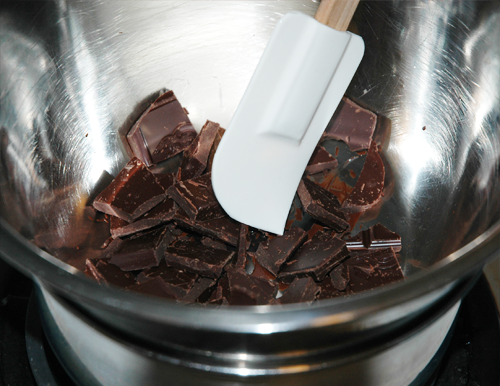
 If the chocolate is not already in small pieces, break it up and place most of it (about 90%) into the vessel that you will be using as the top of the double boiler. Make sure that this bowl or pot is absolutely dry and that any utensil that you use to stir the chocolate is bone dry as well. If even a tiny bit of water comes into contact with the chocolate the entire batch will be destroyed. The chocolate that you left out will be used later so keep it nearby.
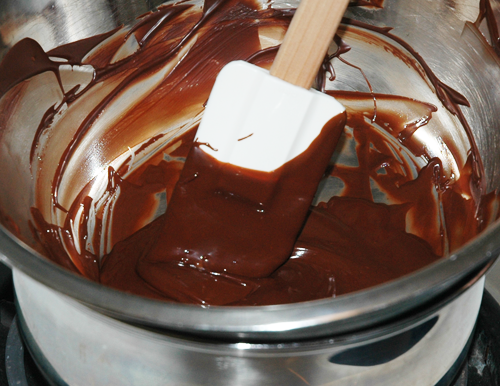
Agitate and stir the chocolate constantly as it slowly melts.
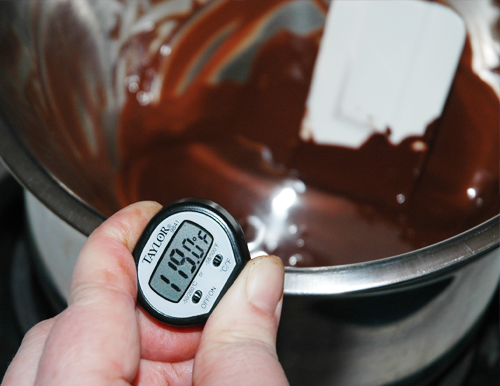
 As soon as the chocolate is mostly melted start monitoring the temperature by sticking the tip of the thermometer into as close to the center of the chocolate as possible. You do not want the end of the thermometer to rest on the bottom of the bowl but to be suspended. By doing this, and keeping the chocolate moving you will get the most accurate temperature reading possible. I recommend aiming for the temperature of the melted chocolate to get to 118 degrees. You can go as high as 120 but absolutely no higher! If you go beyond 120 degrees you are seriously risking ruining the chocolate beyond repair. Aim for 118 and you will be safe. I actually went to 119 when i was preparing this tutorial and that is perfectly fine.
Once the chocolate reaches the goal melting temperature it should be completely melted. If for some reason there is still solid chocolate present take the bowl off and back onto the heat and keep stirring to regulate the temperature near the melting goal until all of the chocolate is smooth and melted. This should not happen if the chocolate was broken up into small pieces.
When all of the chocolate is melted, and you have reached 118 degrees, immediately take the chocolate off of the heat and ad to it the reserved solid chocolate. This will cause the temperature of the melted chocolate to drop as you stir and as it melts into the already melted chocolate. Continue to stir until the chocolate reaches 80 degrees. This may take some time, but be patient. It will get there.
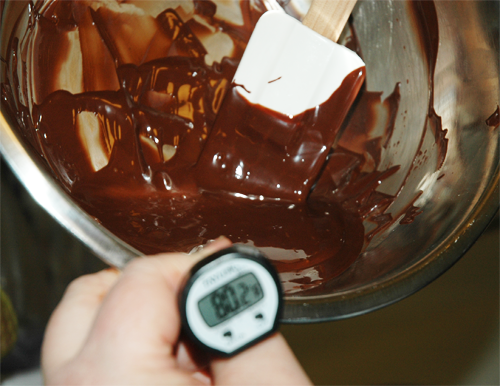 As soon as it reaches 80 degrees place the chocolate back onto the double boiler and bring the heat up to 88 degrees. Now the chocolate is tempered! It is ready to be used to coat the blueberries.
If you would like to test the chocolate to make sure that it is properly tempered, smear a small amount onto parchment paper or foil and let it sit for 3 minutes. If it is set, shiny and breaks with a snap then your chocolate is properly tempered and you can use it with confidence. If your tempering was not successful it will still be liquid after 5 minutes, or if it does harden, it will appear dull and will be soft.
While using the chocolate, the temperature must be maintained at approximately 88 degrees. It is ok if it fluctuates within a degree or two, but try to balance it as close to 88 degrees as possible by moving it on and off (or turning the heat up and down) of the double boiler and keeping the heat very gentle. As long as this temperature is maintained the chocolate can be used. If it goes too high (92 is probably the absolute limit) the temper will be lost and you will have to go through the whole process again. This is not the end of the world, as the process really is pretty simple. In fact during this project, I lost my temper (haha) because I let the chocolate get to 93 degrees at one point. A few of my blueberries ended up “bloomed” (blooming is a sign of untempered chocolate). No problem. I just re-tempered and continued.
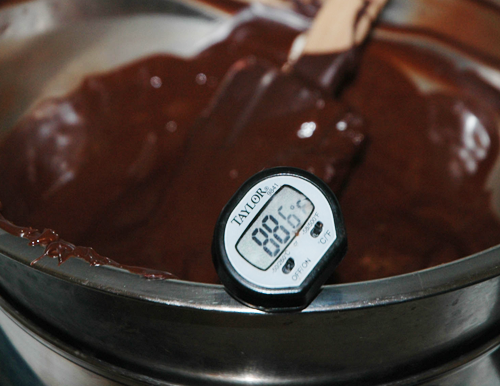 Once you have your chocolate sitting pretty at 88 degrees you can dip the blueberries. You can rest them on a fork and dip them, or do like I do and impale them through the stem indentation and dip them that way.
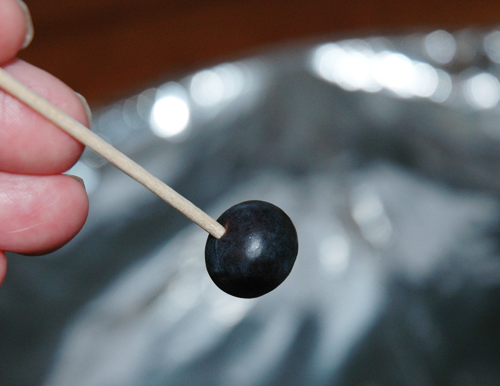
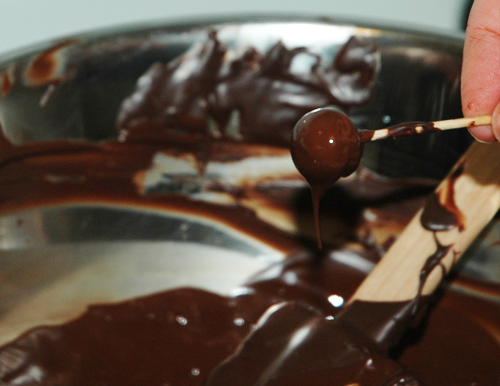 Place the dipped blueberries onto parchment, wax paper or foil and give it a few minutes to set at room temperature.
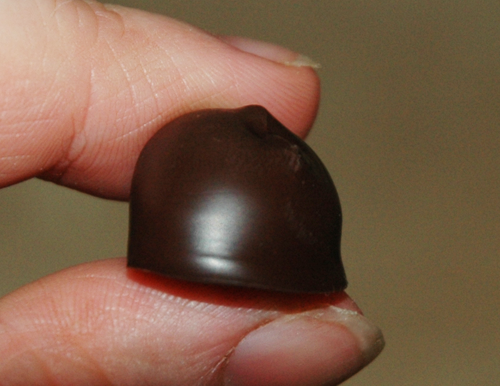
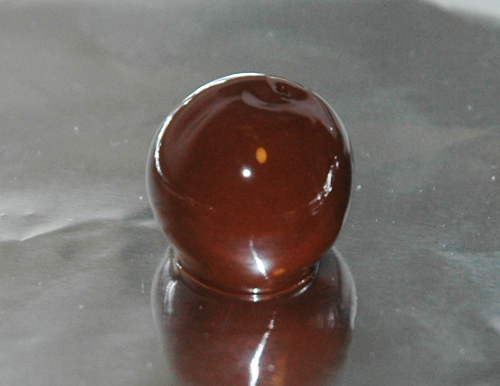 It will not take long for the chocolate to dry and once it is you will have a beautiful shiny chocolate candy that does not melt or crumble the second you touch it, like it would had you not tempered the chocolate.
That’s all there is to it!
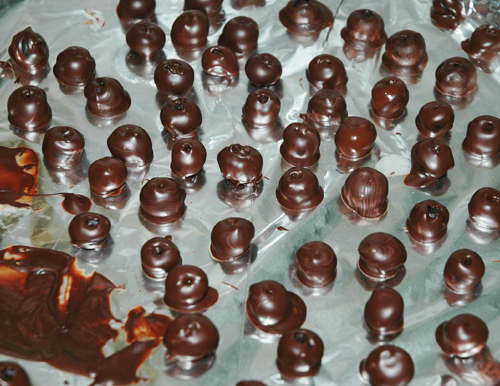
Here is a view of my drying sheet, with a couple smears. Those were my test patches. You can see that a couple of blueberries are bloomed. I took this picture when I realized, because I saw the bloomed blueberries, that I had lost temper and was about to re-temper.
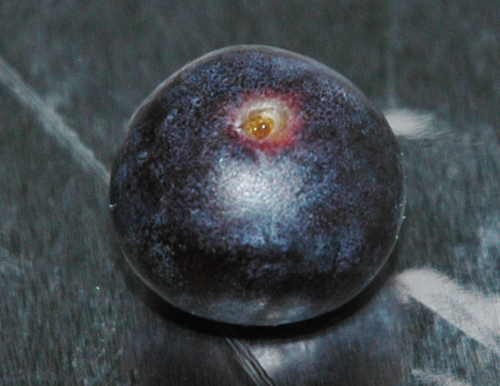
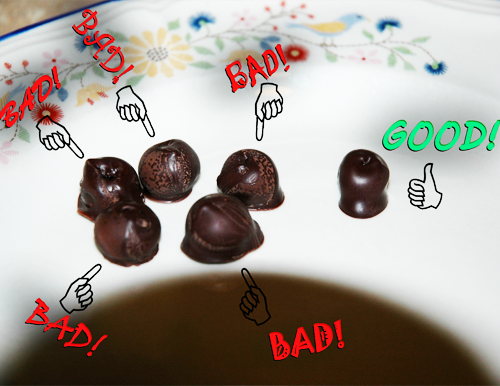
 Here is a comparison of bloomed (failed temper) blueberries and a properly tempered blueberry so that you will know what to watch out for.
 Now that you know how to temper chocolate, go coat everything you can get your hands on!
-Printable Version-
DARK CHOCOLATE COVERED BLUEBERRIES
Ingredients:
Blueberries
Dark Chocolate
Method:
1. Wash the blueberries well.
2. Dry the blueberries completely.
3. Set up a double boiler and place most of your chocolate (about 90%) into the top of the double boiler.
4. Monitor the temperature of the chocolate as it melts and stir constantly.
5. As soon as the chocolate reaches 118 degrees and all of the chocolate is melted take the bowl of chocolate off of the heat.
6. Add to the melted chocolate, the reserved 10% of chocolate and stir all together to melt the added chocolate, and bring down the temperature of the melted chocolate.
7. When it reaches 80 degrees place the bowl back atop the double boiler.
8. Bring the heat up to 88 degrees, and maintain this temperature.
9. Dip the blueberries into the chocolate, making sure you maintain it at about 88 degrees, and do not introduce water to the melted chocolate.
10. Place coated blueberries onto wax paper, foil or other similar material and let the chocolate set at room temperature. As soon as the chocolate drys they are ready to eat.
Additional tips: If you go above 88 degrees while working with the chocolate you will have to re-temper it. It is ok if you have no more reserved chocolate to seed it with like you did the first time. The same results can be achieved without it, but it will just take longer to bring the temperature down during the cooling phase. You can also try dipping the bowl of melted chocolate into a bowl of cold water to speed the cooling along, but keep in mind that the slower the chocolate cools (within reason), the better.

