Jump to Ingredients – Jump to Method – Jump to Printable Version
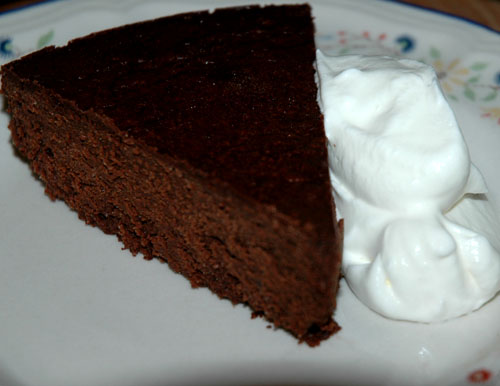 This cake is really special. For people who love dark chocolate, it doesn’t get much better than this. Now, the most important thing to keep in mind when making this is to use amazing chocolate. I’m serious. If you make this with cheap chocolate you will completely miss the point. The purpose of this cake is to emphasize the flavour of the chocolate, so if a chocolate with a flat flavour is used then the final product will also taste flat.
Now, I found this recipe on a package of Ghirardelli Chocolate 72% Cacao Extra Bittersweet Chocolate Baking Chips and, to be honest, the recipe was on that package for a reason. This chocolate is incredible. Unfortunately, Ghirardelli is a fairly small company based in California and not all of their products are widely available. When I discovered this chocolate, and this recipe, I was living in Pennsylvania. At that time this package of baking chips was available in the grocery store that I frequented. I have since moved to Canada, and depressingly, Ghirardelli is only a distant fantasy here. Why Ghirardelli!? WHY!!!? Due to immigration issues, I was unable to leave Canada for about two years and during that time I attempted to find a replacement chocolate with which to make this cake. I did research and tried a number of what are supposed to be the best chocolates available in Canada, and the world in some cases, and I was so disappointed. Nothing matched the complex, bitter, full flavour of Ghirardelli. This is the only chocolate that I deem worthy of this cake. Now when I visit family in the States, or when someone comes to visit me, I almost always make sure some of this amazing chocolate travels across the border and lands in my cupboard. It really is worth the trouble in my opinion. I know that I sound like a commercial and I know that everyone’s tastes are different but I stress this because without a great chocolate, this cake is just good. With the right chocolate it is orgasmic, and I know that this is a safe bet. Feel free to experiment, however, especially if you live somewhere where you do not have access to this stuff. I challenge you, dear readers, to find another chocolate equally worthy of this recipe. I would love to find an alternative, given the difficulty of obtaining Ghirardelli.
I sincerely apologize for the rant. It was a necessary evil. Moving along now…
This is not a quick recipe. Typically you will need to start this cake the night before the day you want it to be finished because it requires a long cooling period in the refrigerator to set. I just wanted to give you that warning before venturing to begin this recipe. It is a lot of work and takes a long time, but it is worth it!
This recipe will yield one cake that will provide about eight servings.
-Ingredients-
10 Ounces 72% Dark Bittersweet Chocolate
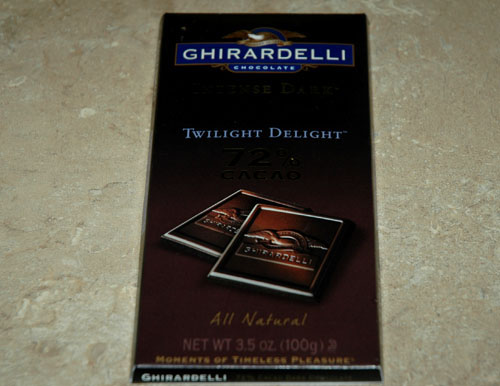
Another unfortunate thing about Ghirardelli Chocolate is that they no longer sell their line of baking chips. It’s almost as if they don’t want our money or something. Well, at least they still sell bars. The bars of 72% dark chocolate seem to taste the same as the chips. If there is a difference it is small enough not to matter. Each of these bars is 3.5 ounces, so I use just slightly under three full bars in this recipe. Of course, you can try any chocolate you like, but I recommend keeping the cacao percentage around 70.
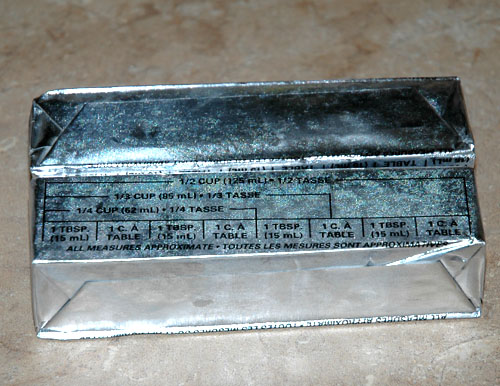
2 sticks of Unsalted Butter (16 tablespoons, 1 cup, half pound)
Plus a little extra, melted, for buttering the pan.
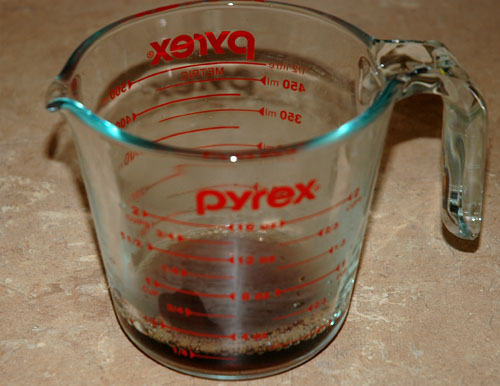
1/4 cup of Strong Coffee
Now, you can use water here if for any reason you can’t or don’t want to use coffee. The original recipe gave water as the suggested ingredient and simply mentioned that you may use coffee if you prefer. I do this the other way around. I strongly urge you to use coffee. It adds so much flavour! Also, in my opinion, the stronger the better. I tend to use a really strong dark roast and brew it to twice the strength that it should be. You may use any coffee you wish or, of course, you may just use water.
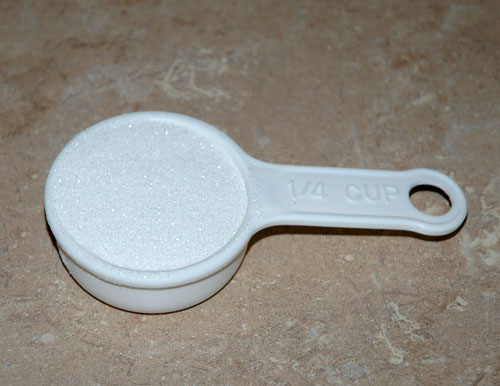
1/4 cup Sugar
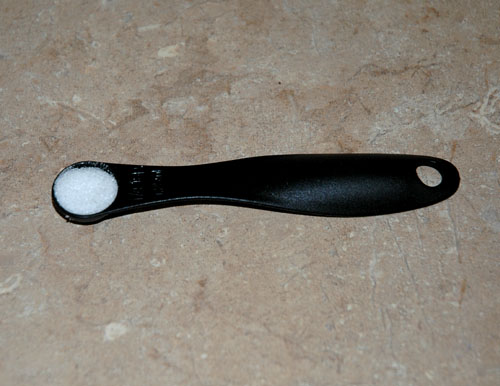
1/4 tsp Salt
Or a “dash”, if you will. You probably don’t really have to measure this ingredient if you are comfortable with pinching and dashing salt, which I usually do. But the original recipe called for this, it works, so I figure why argue? I just measure it for this recipe.
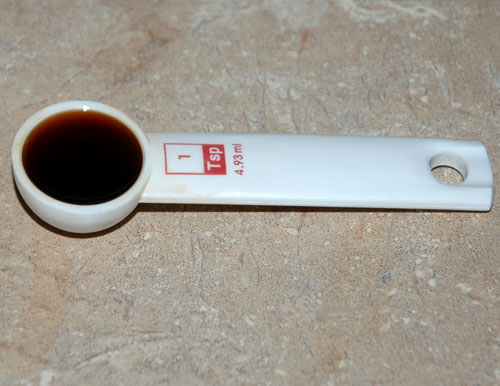
1 teaspoon Vanilla Extract
Real vanilla extract, please!
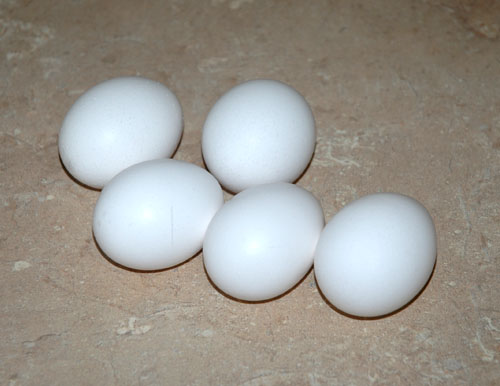
5 Large Cold Eggs
It is important that the eggs are right out of the refrigerator. They will whip more readily the colder they are.
Water, as needed
-Method-
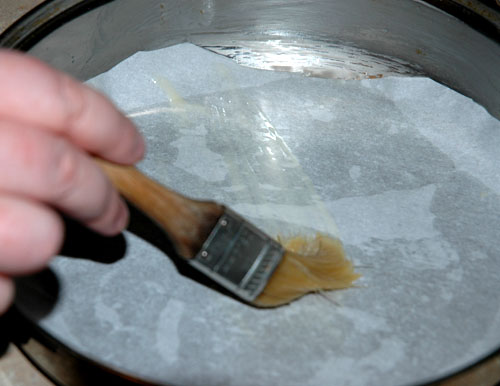
Preheat your oven to 375 with the rack in the lower third of the oven. Cut a piece of parchment paper to fit the bottom of an 8 inch round 2 inch deep cake pan. Brush the entire interior of the pan with butter.
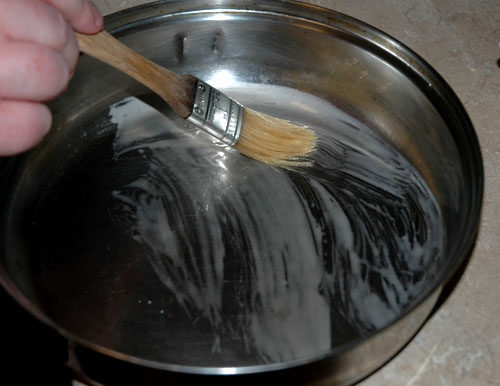 Place the parchment paper into the buttered pan and brush the paper with butter as well.
Now, this cake pan is going to be placed into a water-bath as it bakes so you must find a larger pan that this one will fit into. This can be a larger cake pan, roasting pan, anything that is large enough and oven safe. Find out how much water you will need so that the cake pan can be submerged up to and inch. Set this aside in a pot for now. You will want to bring it to a boil right before we bake the cake.
Brew your coffee, if you are using coffee in lieu of water.
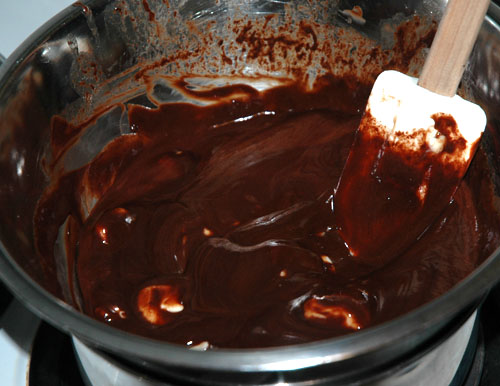
Now, set up a double boiler (a pot of simmering water with a pot or bowel above it for gentle heating). In the top pot or bowl add 10 ounces of chocolate broken into small bits, 16 tablespoons of unsalted butter cut into small bits, and 1/4 cup coffee (or water). 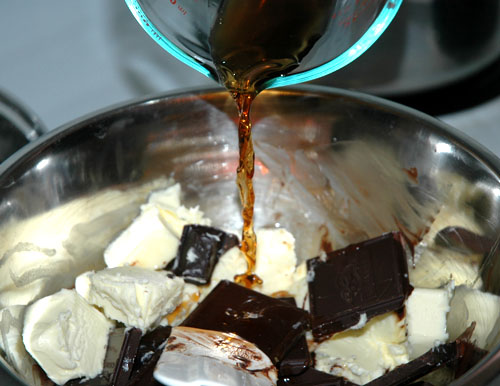
Tease it and stir it pretty constantly while it melts.
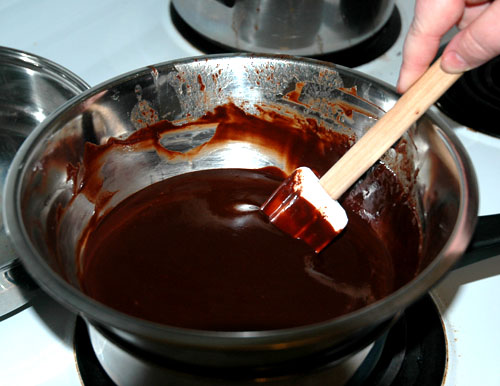
Continue until the chocolate mixture is smooth.
Turn off the double boiler and leave the chocolate mixture over the warm water so that it can cool slightly but still be kept warm while you prepare the egg mixture.
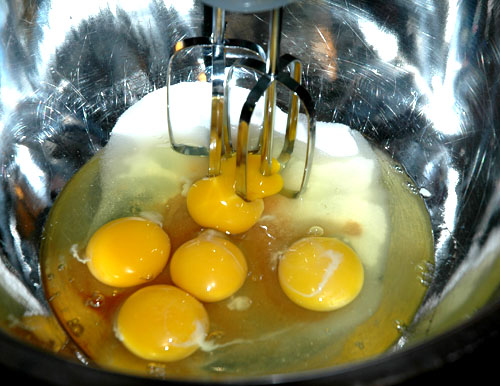
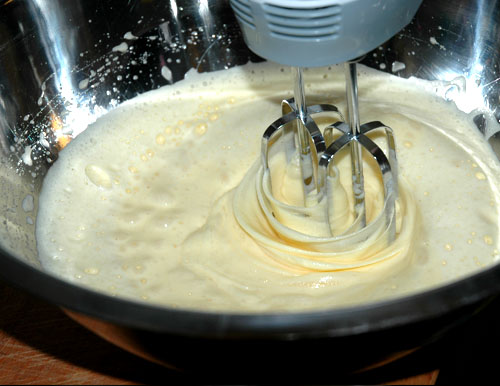
Now, take five large eggs out of the refrigerator and crack them into a bowl. To the eggs, add 1/4 cup of sugar, 1/4 teaspoon of salt, and 1 teaspoon vanilla extract. Now you have to whip the eggs until they are tripled in volume. This can take a really long time if done by hand. I suggest you use an electric hand-mixer and use a high setting. With a hand-mixer, this typically take 5 to 6 minutes. Do not cut corners on this step. You need those eggs to be FLUFFY!
Like this!
Make sure that your chocolate mixture is only a little warm for the next step. There is no reason why it would be piping hot, but if for some reason it is, the next step will cook the eggs and you will have a big ole mess on your hands.
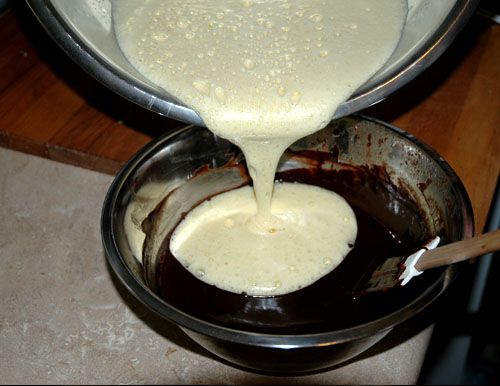
Pour about a third of the egg foam into the chocolate mixture. No need to measure, just eyeball it.
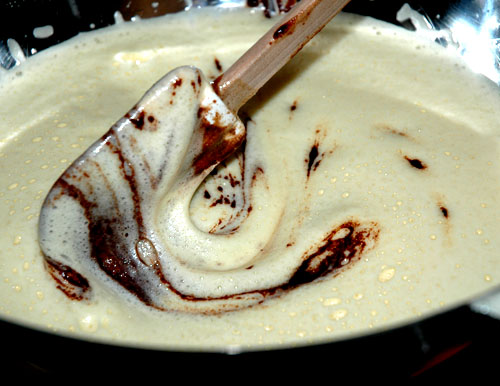
Now you must gently fold the egg foam into the chocolate mixture. The light egg foam will be floating on top of the thick, heavy chocolate. You want to incorporate the two mixtures as gently as possible to avoid loosing the air bubbles in the eggs. Using a rubber spatula, gently scoop down into the chocolate, bring it up and gently lay the chocolate over the egg foam. Keep doing this while turning the bowl a little each time. Do not get impatient and start stirring. Fold, fold, fold!
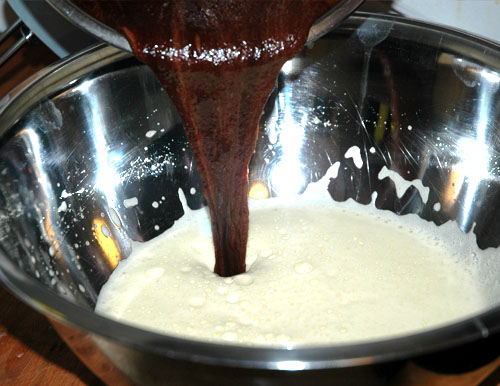
After a few minutes of patient folding you will have a mixture that looks like the picture. You do not have to keep going until it is completely homogenous. Once it looks like the picture below you can move on to the next step.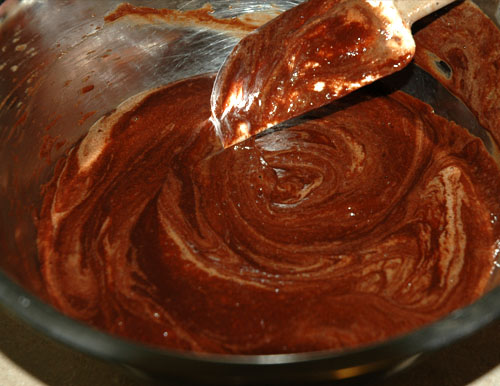
Pour this egg and chocolate mixture into the rest of the egg foam.
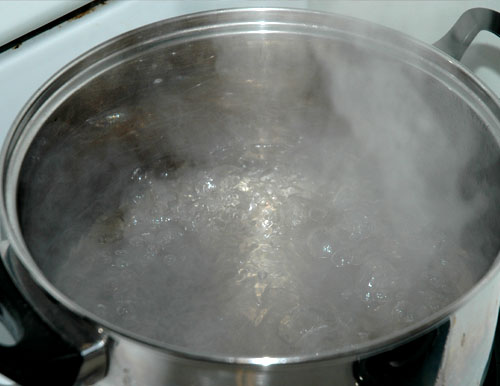
By the way, if you have not started that water boiling yet, do so now.
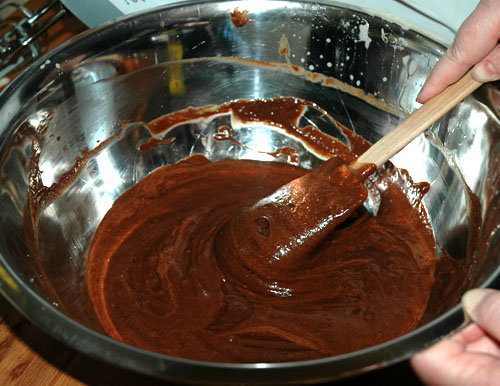
Fold the chocolate and eggs gently, as before.
Again it does not have to be completely homogenous, just well mixed. Once it looks like the picture, it is ready. It should still be light and fluffy.
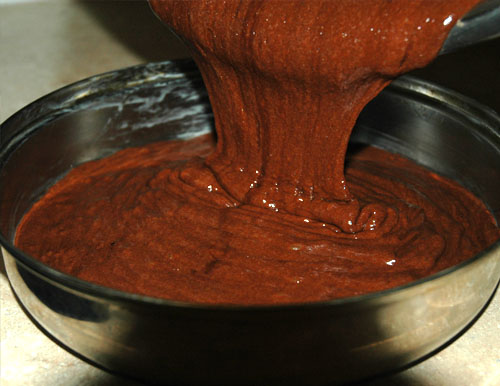
Pour this delectable batter into the buttered cake pan.
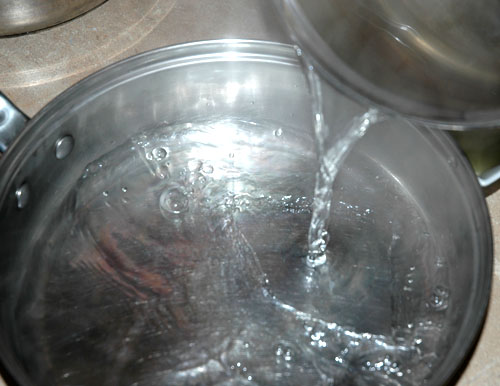
Now, into the larger pan that is meant for the water bath pour enough boiling water so that when the cake pan is placed into this pan, the water will come up the cake pan about in inch.
Carefully place the cake pan filled with batter into the water bath.
Put it into the oven and bake for about 20 minutes. It will rise only slightly and will probably jiggle a bit still, even when it is done. So do not think that it is undercooked because you see some jiggliness!
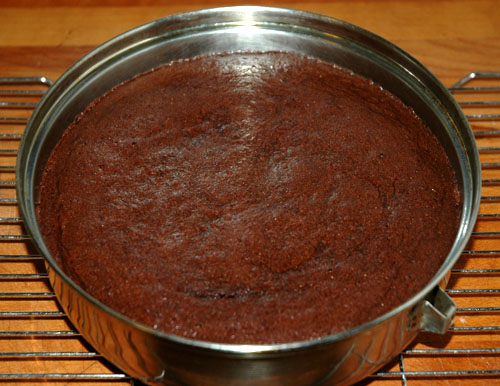
When it is finished baking take the cake pan out of the water bath and set it onto a rack to cool completely. Once it is completely and I mean all the way cooled, place it into the refrigerator, covered, to sit for at least 8 hours. I usually just leave it overnight.
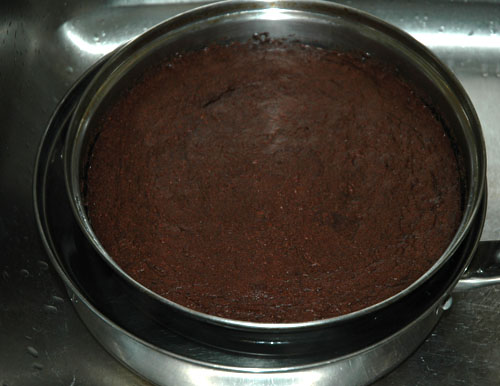
After the long sit in the refrigerator it is finally completely ready. Now, to get it out of that pan! The best method to do this is to boil some water and basically just make another hot water bath. Dip the pan into the hot water bath and let it sit there for a minute or two. This will slightly melt the edges of the cake so that it can slide out easily.
After the pan has been dipped, hold it in one hand and place a plate or something flat over the cake pan. Now simply flip them. Place the plate down with the pan still on it and knock on the cake pan a bit to loosen up the cake a bit more. If it has not come loose yet, this should do the trick.
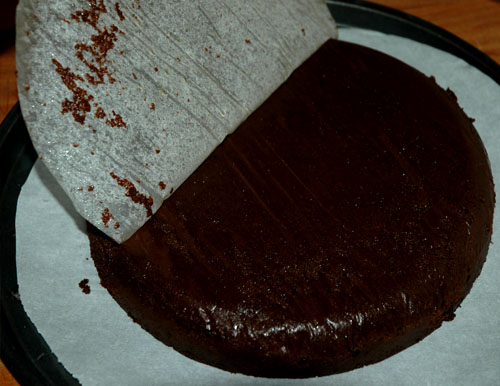
Once the cake comes loose you can remove the cake pan.
Peel off the parchment paper.
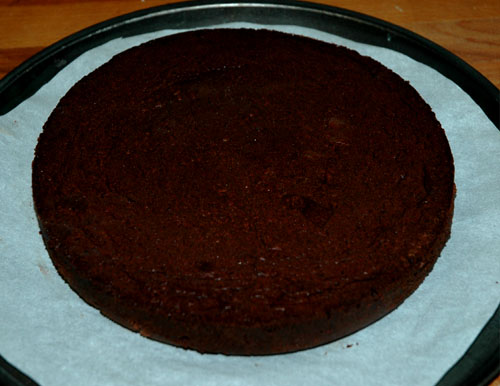
It looks nicer from the top, so using the same method that I just described, I flip it over again.
It must be stored in the refrigerator until shortly before you plan to eat it. It will be lovely for about three days if stored in the fridge. Be sure, however, that before you do dig in you bring it out and let it get to room temperature. About an hour out of the refrigerator should do. It can set out for longer than that, but just do not store it at room temperature long term. I stress, it is very important to eat this torte at room temperature for full effect!
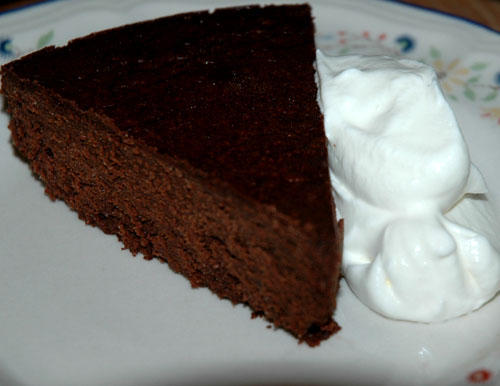
There is no need to icen this thing. Its richness stands on its own. The perfect accompaniment, however, is a nice big dollop of freshly whipped cream (recipe to come). The torte is very very rich and the whipped cream is refreshing, so they really compliment each other. Oh my goodness it just doesn’t get any better! I’m getting hungry!
Sometimes I like to drizzle a bit if tempered chocolate over the cake. With the truffle-like texture of the cake the slight crunch of the little ribbons of chocolate is a really nice accent. Below you can see a torte that I made a while back and that I have drizzled tempered chocolate over. I did not flip this one over either, you can see how it is not quite as nice looking.
It is also very nice with berries and you can also dust it with powdered sugar for a nice presentation.
-Printable Version-
FLOURLESS CHOCOLATE TORTE
Ingredients:
10 Ounces 72% Dark Bittersweet Chocolate
2 sticks of Unsalted Butter (16 tablespoons, 1 cup, half pound)
1/4 cup of Strong Coffee (or water)
1/4 cup Sugar
1/4 tsp Salt
1 teaspoon Vanilla Extract
5 Large Cold Eggs
Water, as needed
Method:
1. Preheat your oven to 375 with the rack in the lower third of the oven.
2. Cut a piece of parchment paper to fit the bottom of an 8 inch round 2 inch deep cake pan. Brush the entire interior of the pan with butter. Place the parchment paper into the buttered pan and brush the paper with butter as well.
3. Brew your coffee, if you are using coffee in lieu of water.
4. Set up a double boiler and add 10 ounces of chocolate broken into small bits, 16 tablespoons of unsalted butter cut into small bits, and 1/4 cup coffee (or water) into it. Tease it and stir it pretty constantly while it melts. Continue until the chocolate mixture is smooth. Turn off the double boiler and leave the chocolate mixture over the warm water so that it can cool slightly but still be kept warm while you prepare the egg mixture.
5. Crack 5 large cold eggs into a bowl. To the eggs, add 1/4 cup of sugar, 1/4 teaspoon of salt, and 1 teaspoon vanilla extract. Whip the eggs with a hand mixer for 5 to 6 minutes until they are tripled in volume.
6. Pour about a third of the egg foam into the chocolate mixture and gently fold them in until they are well blended.
7. Pour this egg and chocolate mixture into the rest of the egg foam and gently fold until it is all well blended, being careful not to lose all those air bubbles!
8. Pour the batter into the buttered cake pan.
9. Place the cake pan into a larger pan and pour boiling water into the larger pan to create a water bath for the cake pan to bake within. Let the water come up the cake pan about an inch high.
10. Bake for about 20 minutes. It will rise only slightly and will probably jiggle a bit still, even when it is done.
11. When it is finished baking take the cake pan out of the water bath and set it onto a rack to cool completely. Once it is cool place it into the refrigerator, covered, to sit for at least 8 hours.
12. After the long rest in the refrigerator you can take the cake out of the pan. To make this easy dip the pan into a hot water bath and let it sit there for a minute or two then flip it onto a plate. Peel off the parchment paper.
13. Store in the refrigerator, but let it come to room temperature before serving.






Pingback: Looks like +April Thomas is finally getting around to posting some more recipes to… | BradLeclerc.com()
Pingback: DIY Watchmen Torte | nertro()