Jump to Ingredients – Jump to Method – Jump to Printable Version
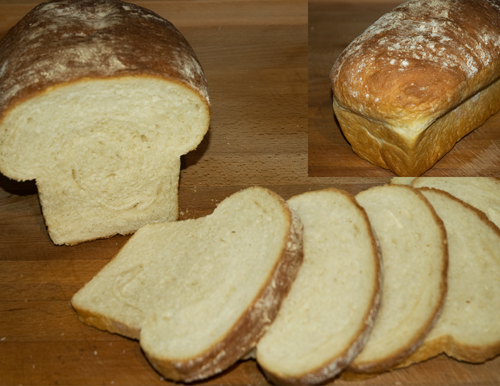
I use this soft white bread dough to make many items. This includes sandwich loaves, rolls and buns of all shapes and sizes, garlic knots, pizza, braided loaves, baguettes, and whatever else takes my fancy, really. Since they all require the exact same dough, I thought I would post the recipe for the dough here, and avoid the redundancy of repeating the entire process each time I want to post a recipe for another item that the dough is used to make. Most of the time, the nuances that make each recipe different takes place once the steps in this guide are complete, so I will simply link you to this recipe and then explain how to finish it in the new article. I will also list on the bottom of this article, all of the recipes that I have posted, that require this dough to be made.
This recipe is for a triple batch of dough. So if you wanted to only make sandwich loafs, this recipe will yield three loaves. What I typically do is make one or two sandwich loaves, and use the other third of the batch to make something else. For example I might make small rolls (Which my husband calls “bread apples”, and eats them by the fist full), or a braided loaf, a pizza, or hamburger buns, etcetera. Pretty much every, and maybe actually every, recipe that I use this bread for requires either a third, two thirds, or the whole triple batch. This makes it easy to make multiple things with just one batch of dough. The dough can also be formed and frozen and then thawed and baked at times, though this works better for some recipes than for others. It may seem like a lot to make at once, but if you are a bread eater, and prefer to make your own bread most, or all of the time, making one loaf or small batch of smaller breads all the time is just a lot of unnecessary work. If you think that this is just too much to make at once you are totally free to do the maths and just use a third of each ingredient amount I call for here. It will work perfectly if you follow the instructions with the reduced amount of dough.
-Ingredients-
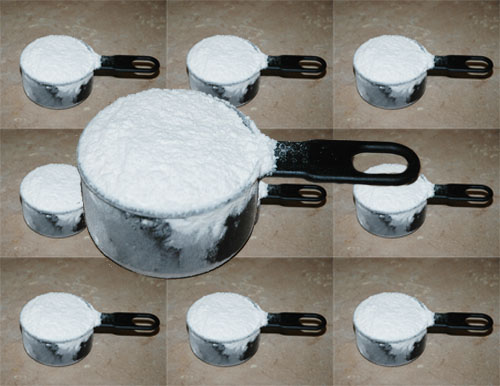
About 10 cups White Bread Flour
This must be plain white bead flour and not all-purpose or whole wheat bread flour, or anything else. This recipe simply will not work without the proper gluten balance. I will mention, however, that up to half of the white bread flour can be substituted with white all-purpose flour. I do this often. It does not seem to have a negative effect.
When measuring flour for bread recipes, it is not necessary to be perfectly dainty and precise with the measuring. Just gently scoop and shake to level off a bit. You will always be adding flour as you knead and factors like air moisture must be taken into account as well. So the perfect amount of flour is going to be achieved by adjusting it by feel.
 1 Quart (4 cups, 1 liter) Milk
Ok, now you think I’m crazy.
I know it seems like a lot of milk to dump into bread, but this is the key to the amazingly fresh flavour and velvety texture of this bread. If you have the heart for it, please do use the four cups of milk, but you can still make a lovely bread with all water, or even a mix of water and milk in any ratio. I use whole milk. Any kind of milk is OK.
Whether you use milk or water, you should heat it until it is just a bit warm to the touch.
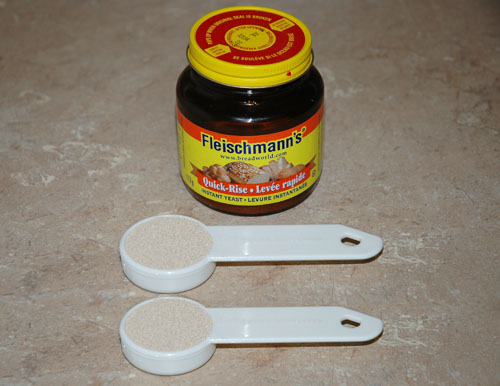
Instant yeast is my preferred yeast, but you can substitute many other kinds of yeast if you prefer. You may have to use common sense and adjust the method to suite your yeast choice, but this is typically not a complicated matter. This article may help you figure out how to proceed if you would like to use another form of yeast.
2 tablespoon melted Unsalted Butter, plus extra for buttering pans, loaves, and/or bowls (if needed)
2 tablespoons Sugar
I use fine grain sea salt.
-Method-
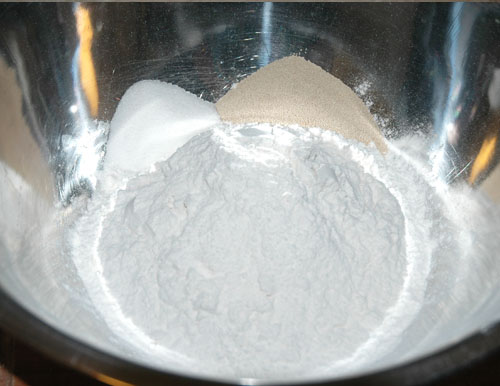
In a large bowl, mix together 4 cups of white bread flour (or white all-purpose flour, which is what I usually add at this point) with 2 tablespoons instant yeast and 2 tablespoons of sugar.
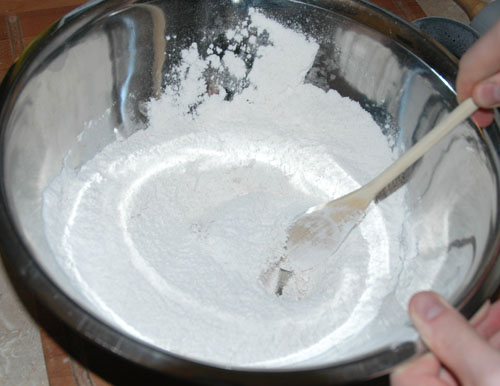
Add 2 tablespoons of melted butter to the flour and mix it in quickly.
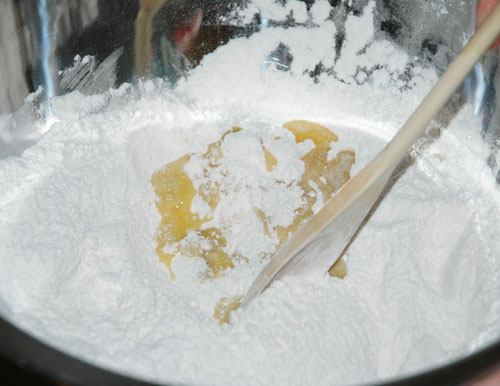
Pour 1 quart of warm milk into the flour mixture.
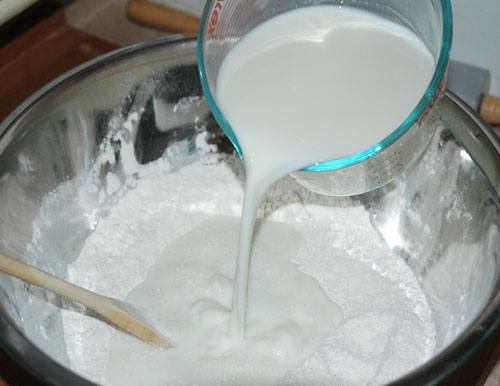 Stir the milk into the flour until it is a chunky paste. You can use your hand but I prefer to use a wooden spoon.
Now you are going to add white bread flour to this mixture, one cup at a time, until it forms into a somewhat sturdy, yet still pretty wet dough. It usually takes about 4 to 5 cups, but this can vary depending on many factors. You have to judge, based on the consistency of the dough, when you are ready to move onto the next step. Do not fear; it should not be difficult to tell when to stop, especially since I am going to walk you through it now.
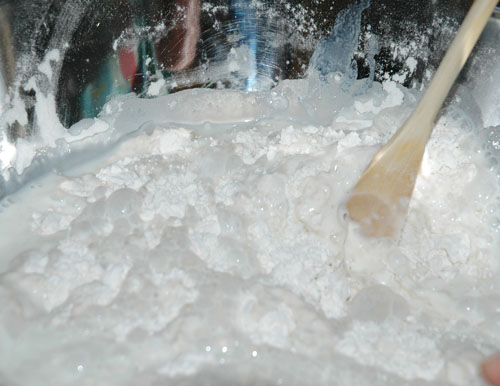
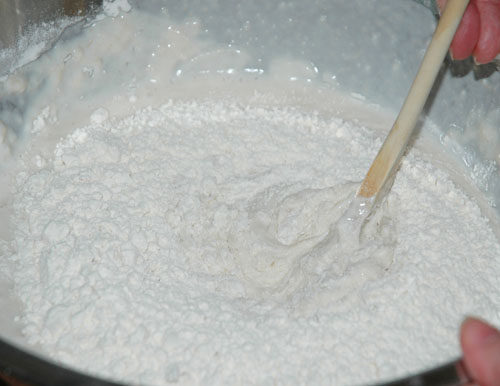
So add a cup of white bread flour to the pasty dough.
Stir it in well and you will have a thicker paste than before.
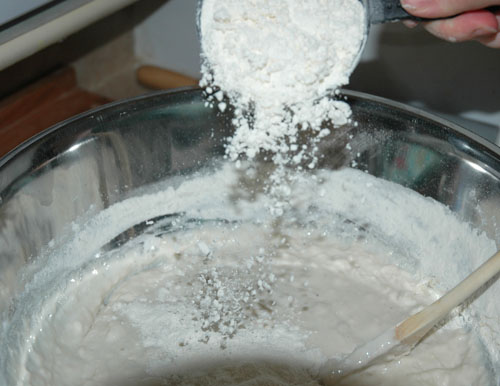 Stir to incorporate it well. After this addition it will be somewhere between the sticky pasty state and an actual dough.
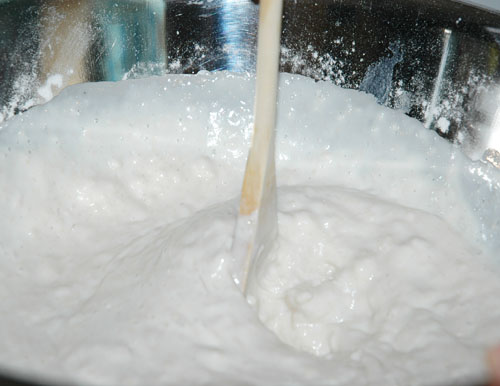
Add a third cup of white bread flour.
 Stir once again. Now it should really start taking shape as a dough and will have a little bit of structure to it. It is still very wet, though, so it will definitely need another cup of flour.
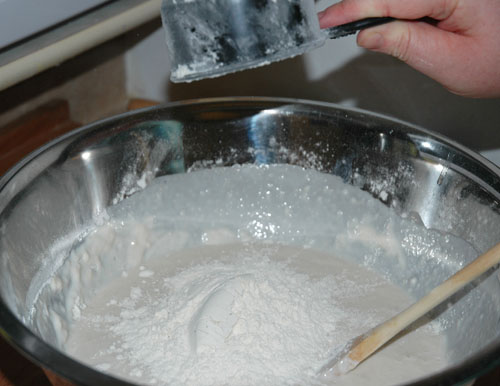
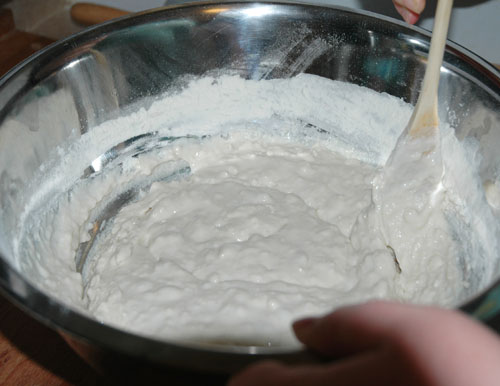
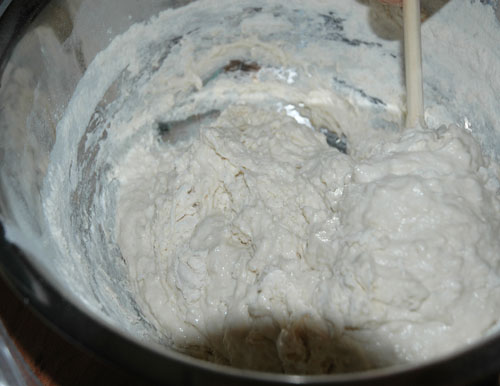
Add a fourth cup of flour to the dough.
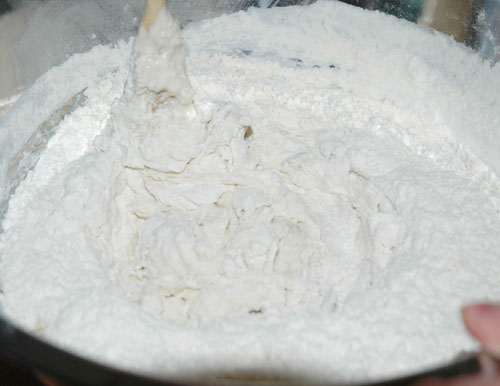 Stir again to combine everything. At this point, my dough is just the right texture. It is still very tacky, but it is solid enough to begin kneading. It still needs more flour, but I will add the rest during kneading. Depending on various factors, your dough may be ready to be kneaded or it may need another cup of flour. If it is still way too gooey, or tacky, or unstructured and you don’t think if would be possible to knead it yet even with very flour coated hands, then add a cup. If it seems solid enough and looks something like the picture, then begin the kneading process. A good way to judge is, if you are using a spoon, and the action of stirring ceases to actually mix things together and instead just mainly pushes around a big lump, that pretty much means that you haz dough, and may begin kneading.
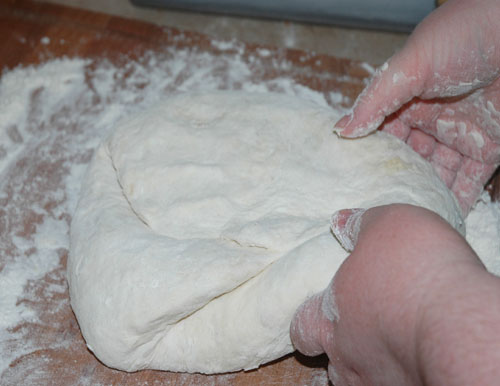
Now that you have developed your basic dough, flour a work surface generously and turn out the wet dough over the floured surface.
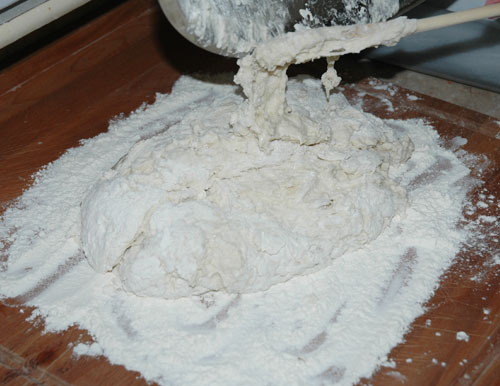 At first the dough has almost no structure and would fall apart if you tried to pick it up. So you must kneed it to develop a gluten matrix that will hold it all together. Flour your hands well and fold one side of the dough to the center and push it in. Do the same with each side. The next two pictures show the first two kneads.
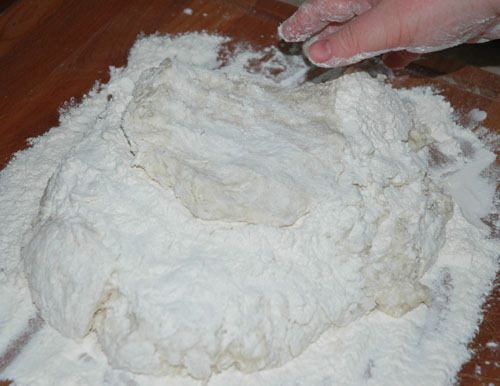
 Once you have done two to four kneads, the dough will have enough structure that you can manipulate it more. So continue to knead, by folding in one side to the middle, giving the dough a quarter turn and repeating this process while adding flour as needed to keep the dough from sticking to the work surface and your hands. Be careful not to add too much flour. When you begin the kneading you do want to add a generous amount because the dough will be very sticky, but soon after you begin, and the structured dough emerges, you will want to add only the slightest amount of flour at a time, just enough to keep it from being too sticky. You are aiming for a sweet spot of moisture. You will know when you are there when you need little to no flour on your hands and work surface and you can continue to knead without it sticking to everything, but the dough still has a very slight tackiness to it. Try to keep the dough near this level of moisture. If you add too much flour the dough will not rise or bake correctly.
Knead the dough for about 5 to 7 minutes. At that point the dough will be in pretty good shape. You may or may not have achieved the perfect moisture yet, and even if it is still a little more tacky than you want it, as long as it seems close to ideal, you may move onto the next step.
Tuck the edges of the dough underneath itself to form the dough into a ball. It should have a smooth and tight skin all along the outer surface.
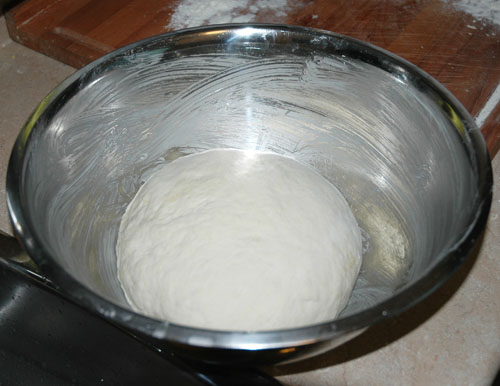
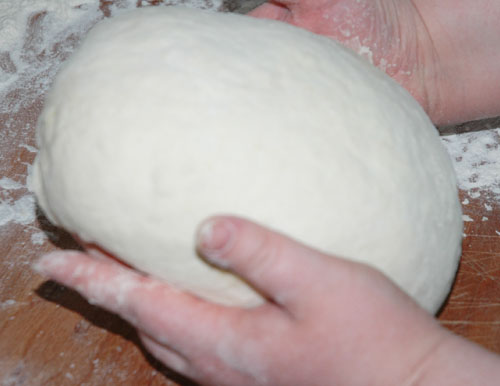 Now cover it, somehow, however you like. You can simply leave it on the work surface and drape a lightly dampened cloth over it, or place a bowl upside down over it, or put it into a bowl and cover with a cloth. What I did this time was put it into a lightly buttered stainless steel bowl and covered it with a round pan that happens to fit the bowl perfectly, so it keeps it sealed enough.
What ever way you decide to do it, place the dough aside to rest for 20 minutes. This is called a bench rest. It gives all those gluten strands that you have been forming a chance to relax, so that when you resume kneading they have more give to them and won’t fight you as much. Also just letting the dough breath gives it a chance a equalize its moisture content a bit and you will find that when you resume kneading the dough is more forgiving with the stickiness.
So leave the dough to rest, wash your hands, and work space if needed, and relax for a few minutes.
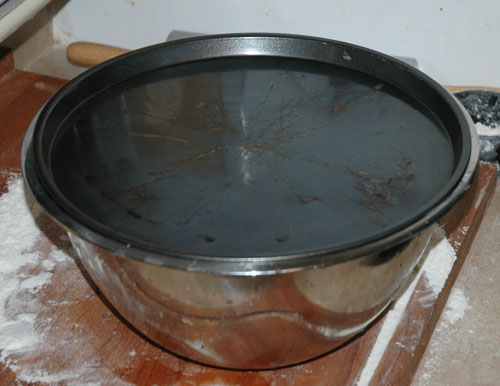 20 minutes later, look how much it has grown! Weren’t expecting that were you?
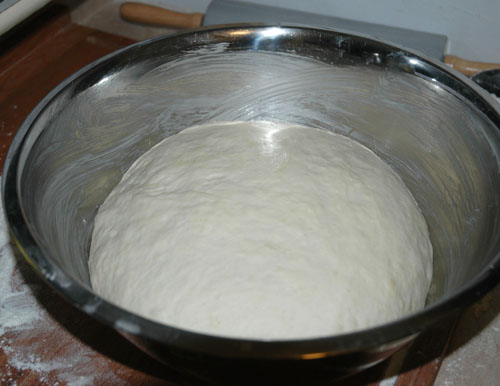 Turn the dough out onto a floured work surface again.
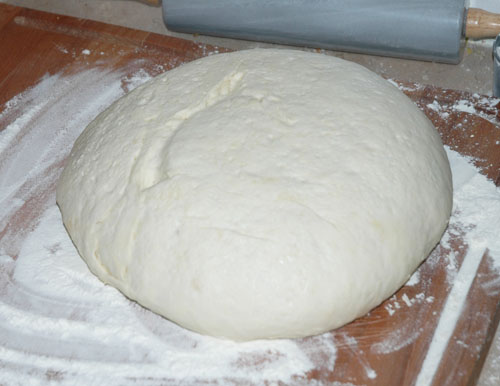 Flatten it out with your hands. It will have accumulated air pockets. You want to squeeze them all out if possible. You will hear them fart and whistle all over the place.
Sprinkle half of the salt over the face of the flattened dough.
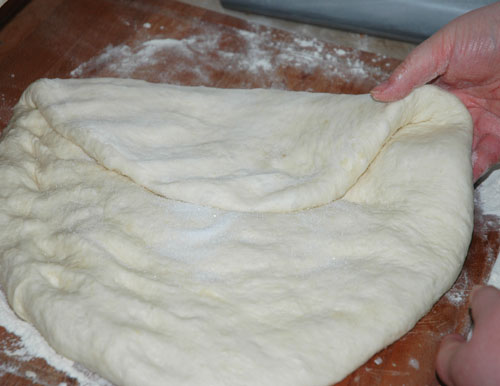
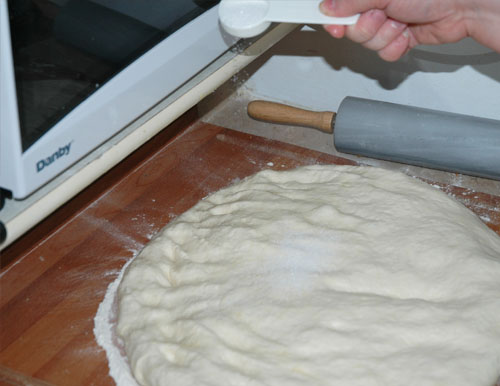 Fold the dough into the middle three or four times and flatten and degas again. Sprinkle the rest of the salt over the dough.
Fold the dough over again a few times and resume normal kneading for about another 5 minutes.
 When the dough is soft and smooth after the this final knead, round it off again, just like before.
 Place the round of dough into a lightly greased bowl and cover, either with a damp cloth, or a plate, or however you would like to do it. People have different styles. It doesn’t really matter what you do as long as the dough stays moist and isn’t allowed to stick to anything. I like to give it a light coating of butter and cover it with that pan that fits my bowl. Whatever, it works for me.
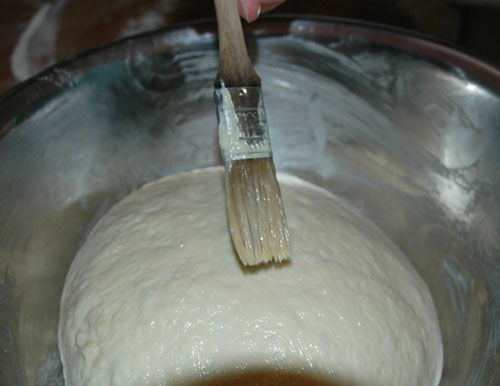 Now place the bowl with the dough inside somewhere to rise. This can just be the counter top, or you can do like I do and put it into your oven, turned off, but with the light on. This creates a gentle warm environment that allows the yeast to grow. Another good technique that I use sometimes is to place a pot of just boiled water into the oven, turned off, with the bowl of dough. This creates a deliciously moist warmth that the yeast thrives in. If you leave it on the counter top and your kitchen is cool it will take longer for the dough to rise, but this is OK. It doesn’t matter as much how long you leave the dough to rise. What really matters is how much you allow the dough to rise. You want it to at least double in size. It can go a bit beyond that, but too much more and you will be pushing it.
Anyway a good rule of thumb is to allow it to rise for 40 to 60 minutes. Just start monitoring its progress after the first 40 minutes and you will get a feel for how it is behaving and you will probably have no trouble telling when it has risen appropriately.
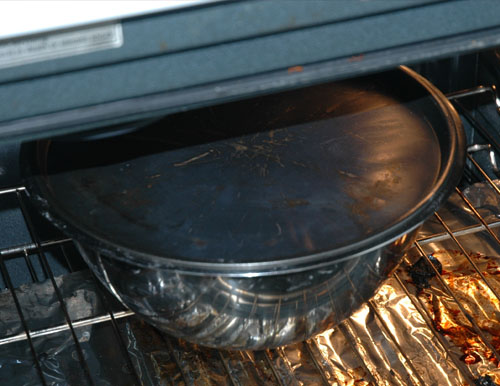 I always use the same bowl when I make this bread and I know it is done rising when the dough reaches the top of the bowl and it starts to lift the round pan up. When it is properly risen it will be a light fluffy cloud of dough and will have a wonderfully yeasty aroma. Today, this batch took only 45 minutes to rise completely. Just remember, this time may vary.
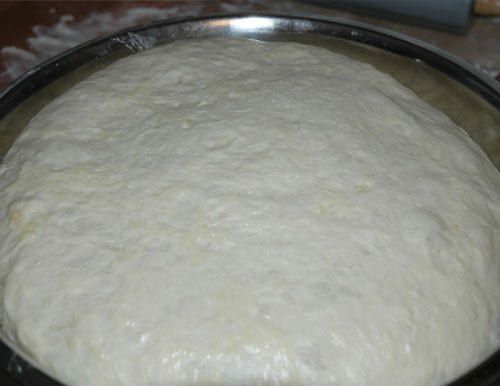 There you have it. This is your soft white bread dough which you can use to make a wide variety of finished products that I will be sharing here. Below you will find the complete list of recipes that are merely continuations of this one.
Soft White Bread Pan Loaf (Sandwich Loaf)
The following is a somewhat useful rant that is totally optional reading. If you do, I suggest you read it in your head, in a voice like the radio commercial “fine print” super fast talking.
***Unless I state otherwise, each of these recipes are designed to use a third of the big batch of dough. You can make any combination of these recipes with a single batch of dough by simply cutting this batch into three separate and roughly equal pieces. It is OK to eyeball it. It never has to be perfect. If you do desire to get it close to perfect you can weigh this dough and divide the weight by three and then you can perfectly slice it into three exactly equal pieces. I do this sometimes, but usually I just estimate. I usually end up with one “third” that is way bigger than the other two, but bread is so forgiving it doesn’t really matter. Just in case you want to know, this triple batch of dough, if done correctly, should end up weighing around 4.5 to 5 pounds. This means that a third of the batch should weigh roughly 1.5 pounds, give or take a few ounces. Realize that I may begin one of the following recipes by calling for about 1.5 pounds, or three pounds of soft white bread dough. This merely means that you should use a third or two thirds of this recipe. You will never have to weigh it out perfectly unless you really want to because you feel like being a perfectionist. This is no crime and I do it at times, but I only want to make it clear that at this point in the bread making it is not an exact science, that it is nothing to stress about.***
-Printable Version-
SOFT WHITE BREAD DOUGH
Ingredients:
About 10 cups White Bread Flour (May sub up to half for White All-Purpose Flour)
2 tablespoons Instant Yeast
1 quart Milk
2 tablespoons Melted Unsalted Butter
2 tablespoons Sugar
1 tablespoon Salt
Method:
1. Melt the butter and warm the milk until a little warmer than tepid.
2. In a large bowl, mix together 4 cups of white bread flour (or white all-purpose flour, which is what I usually add at this point) with 2 tablespoons instant yeast and 2 tablespoons of sugar.
3. Add 2 tablespoons of melted butter to the flour and mix it in quickly.
4. Pour 1 quart of warm milk into the flour mixture and stir the milk into the flour until it is a chunky paste.
5. Add white bread flour to this mixture, one cup at a time, until it forms into a somewhat sturdy, yet still pretty wet dough. It usually takes about 4 to 5 cups.
6. Flour a work surface generously and turn out the wet dough over the floured surface. Knead the dough for about 5 to 7 minutes, dusting lightly with flour as needed to keep it from being too sticky.
7. Form the dough into a ball, cover it, and let it sit for a 20 minute bench rest.
8. Turn the dough out onto a floured work surface again. Flatten and degas the dough.
9. Sprinkle half of the salt over the dough and fold it in a few times. Flatten the dough again and sprinkle in the the rest of the salt.
10. Knead the dough for another 5 minutes at least, until you have a soft and smooth ball of dough.
11. Round off the dough and put it into a lightly oiled or buttered bowl and cover. Allow it to rise until it has at least doubled in size. This will take 40 to 60 minutes in most cases.
Once the dough has risen it will be ready to use in any of my recipes calling for soft white bread dough.




Pingback: Soft White Bread Pan Loaf (Sandwich Loaf) | The Cooking Geek()
Pingback: Whole Wheat Bread Pan Loaf (Sandwich Loaf) | The Cooking Geek()