Have you ever tried to coat something in chocolate, like strawberries, nuts, bananas, homemade truffles, etc. only to find that what looked pretty and shiny directly after it was dipped, while the chocolate was still wet, ended up being rather dull and fragile once the chocolate had solidified? Speaking of solidifying, it probably seemed like that darn chocolate would never harden if you didn’t put it into the refrigerator or freezer didn’t it? Well the reason you had this trouble is because you did not temper the chocolate.
Tempering chocolate can seem like a complex and downright mysterious thing and for that reason most people tend to avoid the issue. Luckily, the truth is, tempering chocolate is not all that difficult in practice. It is simply a matter of heating the chocolate to a certain temperature, cooling it to a certain temperature, and then heating it again to a certain temperature. The scariest part of this process to most people is the precision required. How on Earth are you supposed to keep track of exact temperatures? How difficult is it to hit these temperatures without screwing it all up? This job does require one piece of special equipment. A thermometer. Once you have one, the tempering process really is quite easy. You do have to hit certain temperatures (usually give or take a degree) but this, you will find, is easier than you think. In fact if you temper chocolate a lot you can develop a feel for the the process and can even learn to do it without a thermometer. Until then though, go get a thermometer. Most people opt for a candy thermometer and this would be my suggestion as they would typically be pretty accurate, but I actually use a digital meat thermometer, which is not all that accurate, and I do just fine.
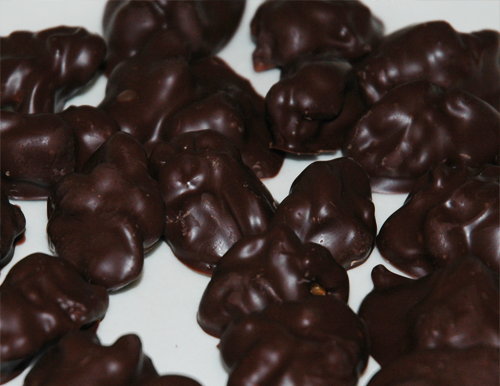
In this article I will describe the process of tempering, and explain why and how it works. While you don’t really need to know all of this information to successfully temper chocolate, this information will help you to understand why it is important and when something goes wrong, why it goes wrong. Do not let this information overload scare you. If you do not care to know all the technical mumbo jumbo about tempering you can just try following step by step instructions in a tempering recipe (like this one for dark chocolate covered blueberries).
Friday
Oct 12, 2012
Jump to Ingredients – Jump to Method – Jump to Printable Version
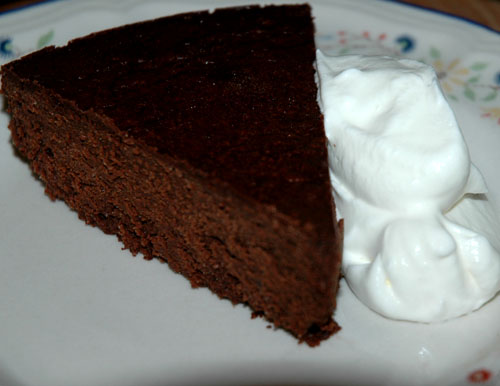
 This cake is really special. For people who love dark chocolate, it doesn’t get much better than this. Now, the most important thing to keep in mind when making this is to use amazing chocolate. I’m serious. If you make this with cheap chocolate you will completely miss the point. The purpose of this cake is to emphasize the flavour of the chocolate, so if a chocolate with a flat flavour is used then the final product will also taste flat.
Now, I found this recipe on a package of Ghirardelli Chocolate 72% Cacao Extra Bittersweet Chocolate Baking Chips and, to be honest, the recipe was on that package for a reason. This chocolate is incredible. Unfortunately, Ghirardelli is a fairly small company based in California and not all of their products are widely available. When I discovered this chocolate, and this recipe, I was living in Pennsylvania. At that time this package of baking chips was available in the grocery store that I frequented. I have since moved to Canada, and depressingly, Ghirardelli is only a distant fantasy here. Why Ghirardelli!? WHY!!!? Due to immigration issues, I was unable to leave Canada for about two years and during that time I attempted to find a replacement chocolate with which to make this cake. I did research and tried a number of what are supposed to be the best chocolates available in Canada, and the world in some cases, and I was so disappointed. Nothing matched the complex, bitter, full flavour of Ghirardelli. This is the only chocolate that I deem worthy of this cake. Now when I visit family in the States, or when someone comes to visit me, I almost always make sure some of this amazing chocolate travels across the border and lands in my cupboard. It really is worth the trouble in my opinion. I know that I sound like a commercial and I know that everyone’s tastes are different but I stress this because without a great chocolate, this cake is just good. With the right chocolate it is orgasmic, and I know that this is a safe bet. Feel free to experiment, however, especially if you live somewhere where you do not have access to this stuff. I challenge you, dear readers, to find another chocolate equally worthy of this recipe. I would love to find an alternative, given the difficulty of obtaining Ghirardelli.
I sincerely apologize for the rant. It was a necessary evil. Moving along now…
This is not a quick recipe. Typically you will need to start this cake the night before the day you want it to be finished because it requires a long cooling period in the refrigerator to set. I just wanted to give you that warning before venturing to begin this recipe. It is a lot of work and takes a long time, but it is worth it!
This recipe will yield one cake that will provide about eight servings.
Monday
Apr 23, 2012
Jump to Ingredients – Jump to Method – Jump to Printable Version
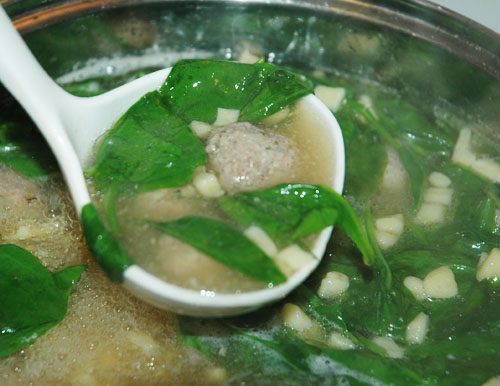
 It’s a wildly popular item to be served at Italian-American wedding receptions, especially in the North Eastern United States, and most specifically the Pennsylvania/ New Jersey areas. It is most popular in Pittsburgh Pennsylvania where it is almost always fed to a new bride and groom and said to be “energy fortification” to help them through their first night together. How romantic. So that’s why it is called Italian wedding soup, right? Well, no. It is sort of the other way around and became a wedding tradition seemingly because of its name. The name is a mistranslation of “minestra maritata” (married soup). The Italians use this term to describe how well vegetables and grains go together in a soup. It’s a good “marriage” of ingredients. In some parts of Italy the traditional soup contains meat and in others it does not. There are no hard rules as to what greens are used and the grains can take the form of a small pasta, long noodles or even beans. The meat in the soup also varies, sometimes being pork, chicken, beef, or more recently meatballs. So Italian wedding soup can take on many different forms, and people from different traditions or who have lived in different parts of the country have different concepts of what Italian wedding soup should be.
This recipe will be dealing with the North Eastern United States concept of the soup. There are many variables and I will be pointing some of them out, but this recipe makes an amazing Italian wedding soup any Italian-American cook would be proud to serve.
Using a few premade ingredients this soup can be prepared in about 20 minutes, or if you want to make it completely from scratch it can take many hours. The choice is yours. It merely depends on the time you are able or willing to spend on making it. This recipe makes approximately 2 liters ( around 6 servings) worth of soup.
Friday
Dec 3, 2010

